

How to
How to add hotspots to an image.
Turn a static picture into a clickable, guided experience with clean markers, rich popups, and a single iframe embed.
Free forever plan · No credit card · Works in Wix, Webflow, WordPress, Shopify, Squarespace
The six steps
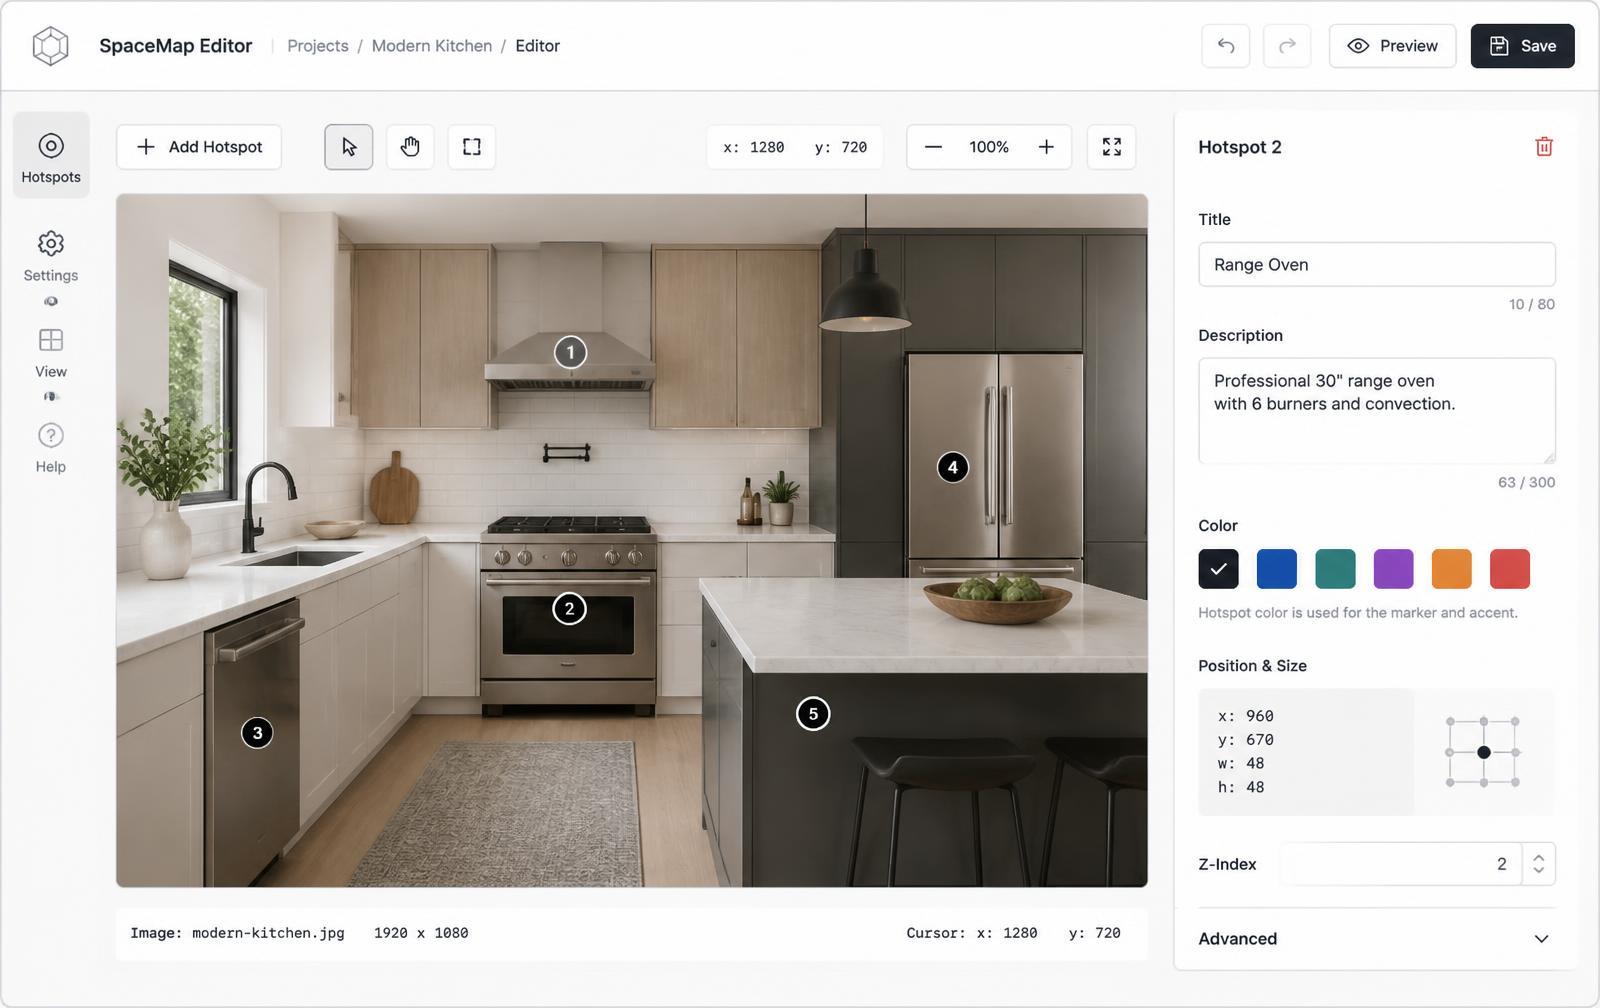
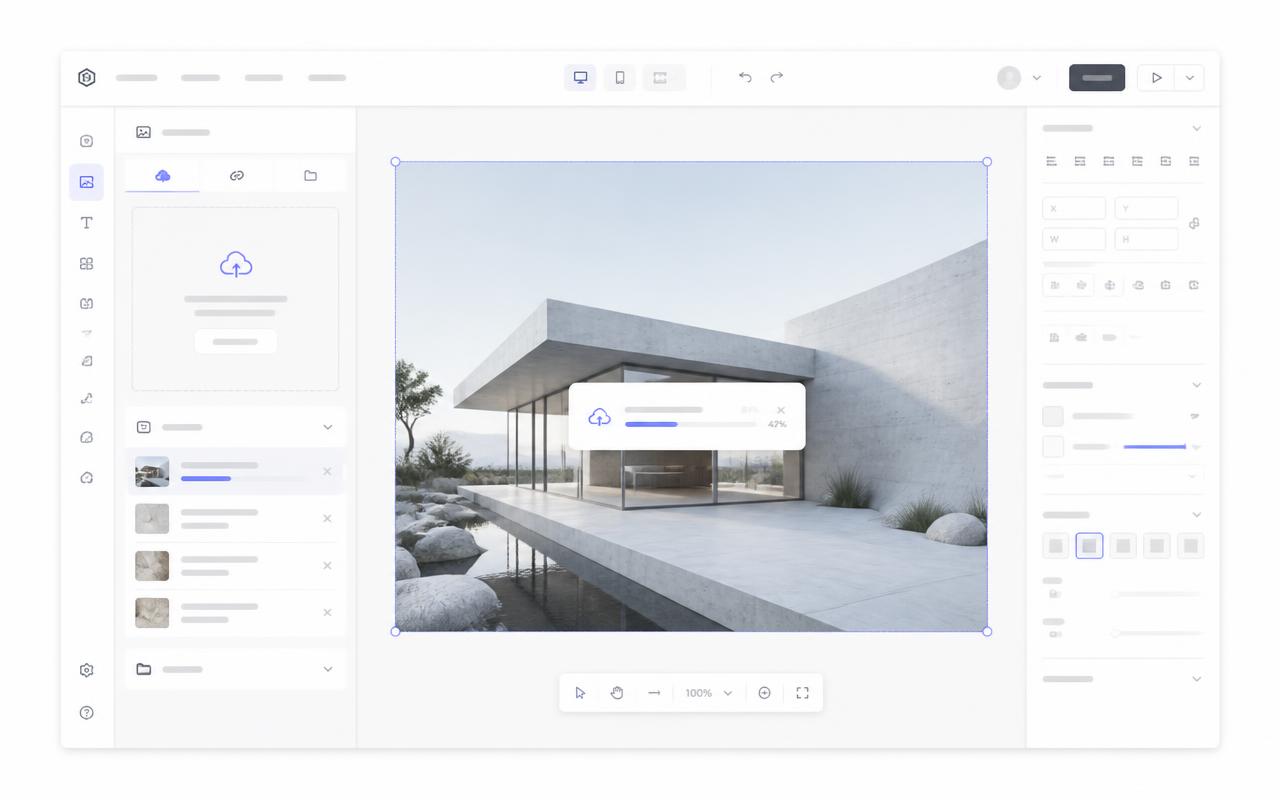
- Upload the image. Drop the image into a new project inside Interactive Image, at its original resolution and aspect ratio.
- Enter add mode. Click the Add hotspot button. Your cursor turns into a crosshair.
- Click to place hotspots. Click anywhere on the image to drop a hotspot. Drag it to fine-tune the exact position — positions save as percentages of the image, not pixels.
- Write the popup. Give the hotspot a title, description, optional image or video, and an optional CTA button.
- Style the markers. Choose dot, numbered, pin, or plus. Set the global color, then override any hotspot individually.
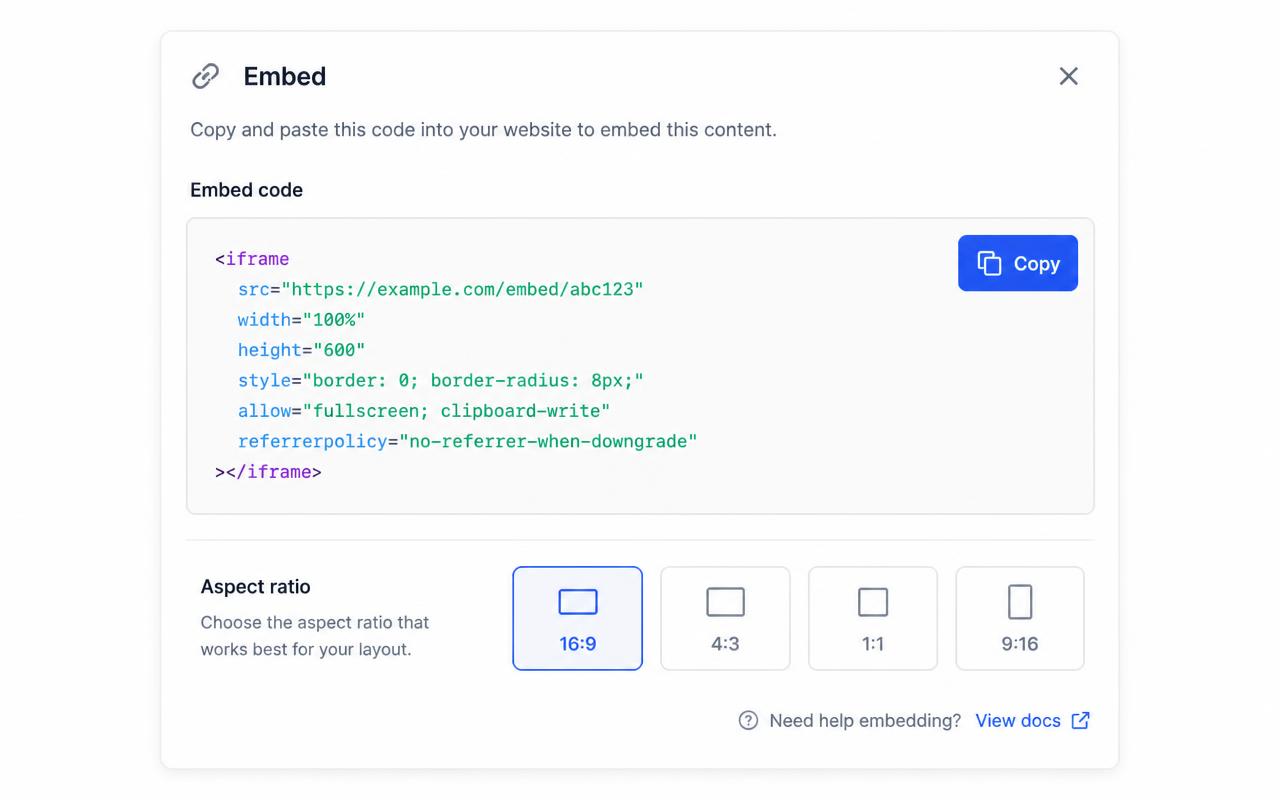
- Embed it. Copy the iframe and paste it into your website.
Preparing the image before you place a single hotspot
- Resolution: use what you already have; more pixels means more room between tightly-packed markers.
- Aspect ratio: the embed follows the image's own ratio, so square, portrait, and wide images all work.
- File size: compress large photos before uploading so the embed loads quickly.
- Never crop after placing hotspots — every position is a percentage of the current frame, and cropping moves what that percentage points at.
Why hotspots use percentage coordinates, not pixels
Each hotspot is saved as an x/y percentage of the image. A hotspot at 30%, 60% is 30% across and 60% down the picture at every width — 1600px on a monitor or 380px on a phone — with nothing to recalculate on resize. Legacy HTML <map> uses raw pixel coordinates instead, which is exactly why those maps break on responsive pages. See the responsive image map generator for the full math and why hotspots drift on mobile for common alignment bugs.
Which marker style should you pick?
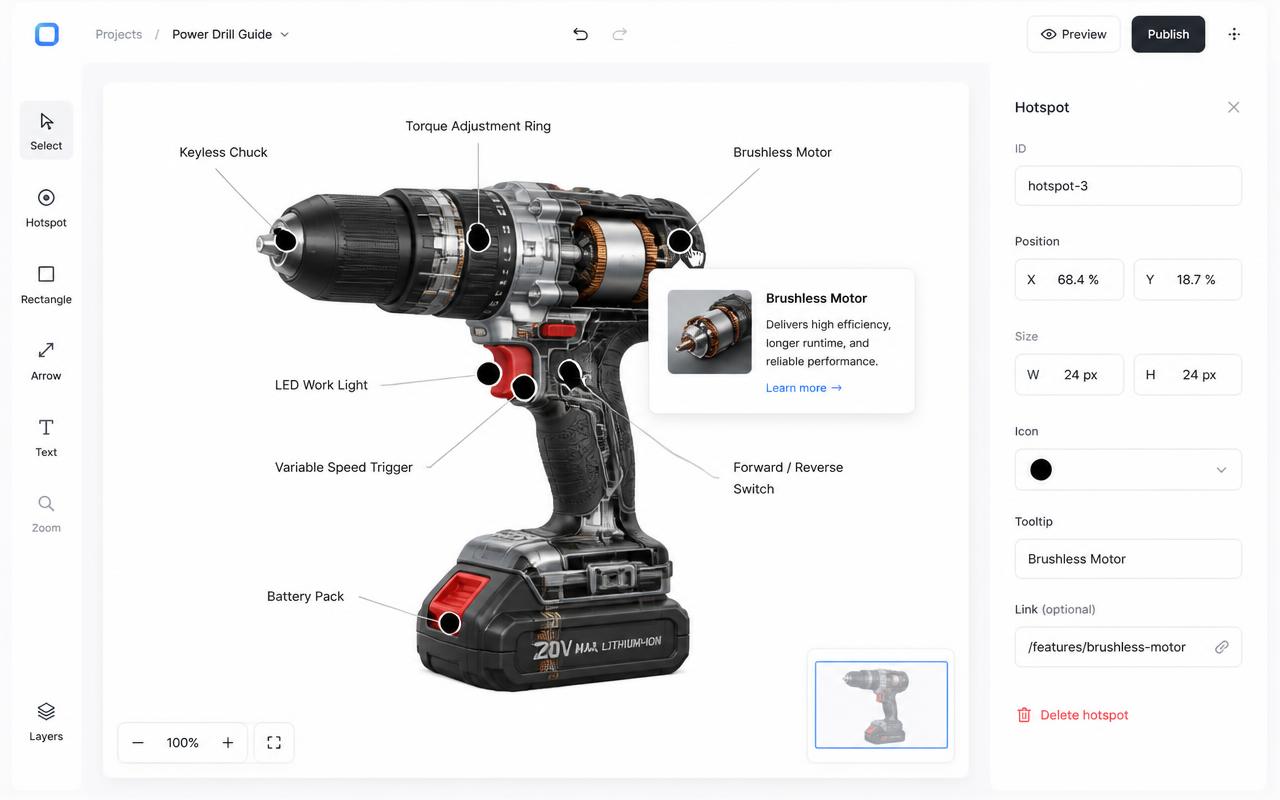
- Dot — clean, minimal, great for product photography.
- Numbered — best for guided tours or step-by-step diagrams.
- Pin — familiar map-pin metaphor for locations or floor plans.
- Plus — subtle, works well over dense technical drawings.
Hover, click, or tap: what should trigger the popup?
On desktop, hover lets visitors preview a hotspot's content without clicking away from what they're doing. On phones and tablets there's no hover state at all, so the same hotspot needs to open on tap instead — usually as a full-width card rather than a tooltip pinned to a small marker. Interactive Image handles this switch automatically per device, so you write the popup content once.
What goes in the popup
A title, description text, an optional image or video, and an optional CTA button that links to a product page, a PDF, or another section of your site. Keep the title short enough to read at a glance and put anything longer in the description.
Embedding hotspots on your website
Once published, paste the same iframe into any site that accepts HTML:
Accessibility and SEO
Hotspot markers are reachable with Tab, show a visible focus ring, and open on Enter or Space in addition to hover and tap — see the accessibility guide. Since the published hotspots live inside an iframe, keep the page around the embed rich with its own headings and text; details are in the image map SEO guide.
Free vs. Pro limits
Pro supports unlimited hotspots per image. Free publishes one interactive image with a small watermark badge on the embed; Pro ($5/mo) removes the badge and raises the published-image limit to 500.
Common mistakes and how to fix them
| Mistake | Fix |
|---|---|
| Cropping the image after hotspots are placed | Crop first, or re-place hotspots after any crop change |
| Copying pixel coordinates from an old <area> tag | Re-click the points visually — the tool stores percentages for you |
| Hover-only popups | Let the tool switch to tap automatically on touch devices |
| Markers too close together on a dense diagram | Use a higher-resolution image or split into multiple images |
| No visible marker style contrast against the image | Pick a marker color that contrasts with the image's dominant tones |
Frequently asked questions
How many hotspots can I add?
Unlimited on every image, on every plan.
Can I make one hotspot look different from the others?
Yes. Every hotspot can override the global color, and each can carry its own image, video, and CTA button.
Can I reorder or duplicate hotspots?
Yes — duplicate a hotspot to reuse its style and content as a starting point, then reposition it and edit the text.
Turn any image into a guided experience.
Free forever plan. Paste one iframe into your site and ship.
Create your interactive image