

For Shopify
Shoppable hotspot images for Shopify stores.
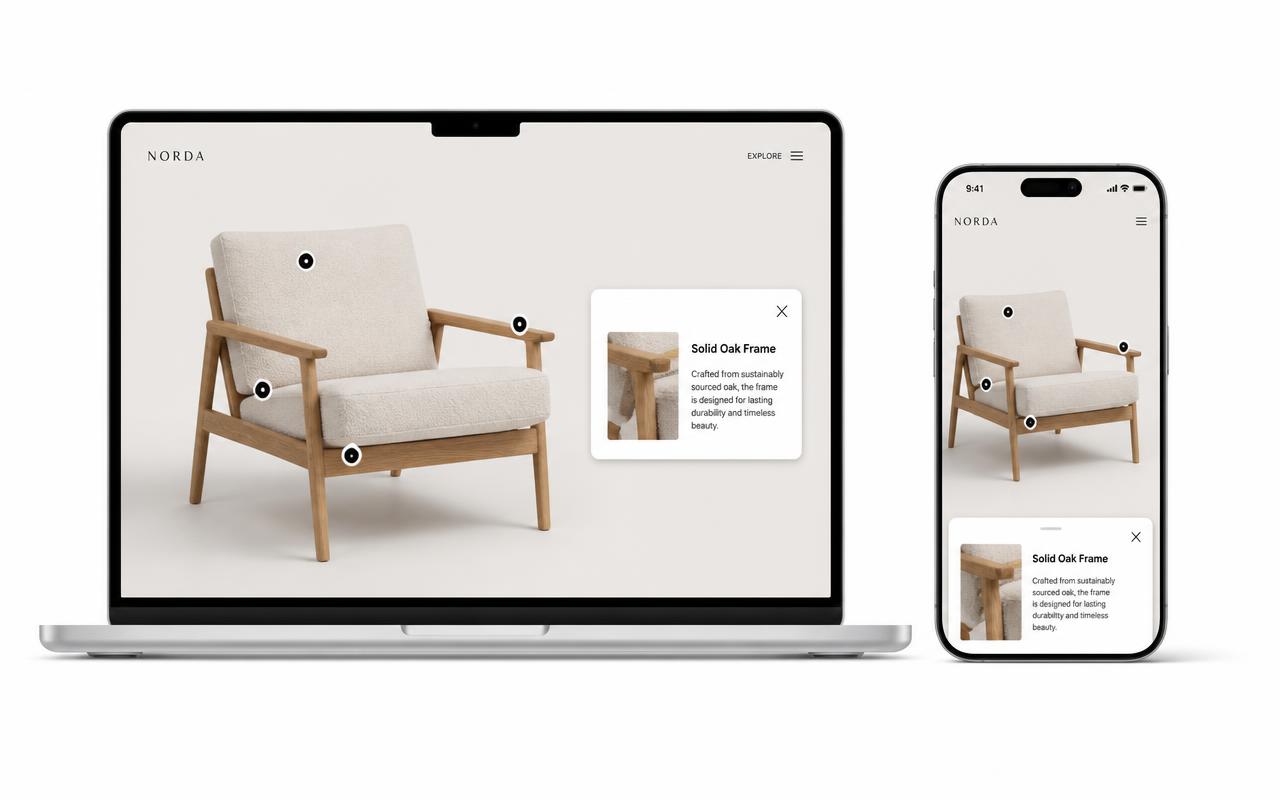
Turn one product photo into a clickable map of colors, features, and bundled SKUs. Paste the embed into a Custom Liquid block and it's live.
Free forever plan · No credit card · Works in Wix, Webflow, WordPress, Shopify, Squarespace
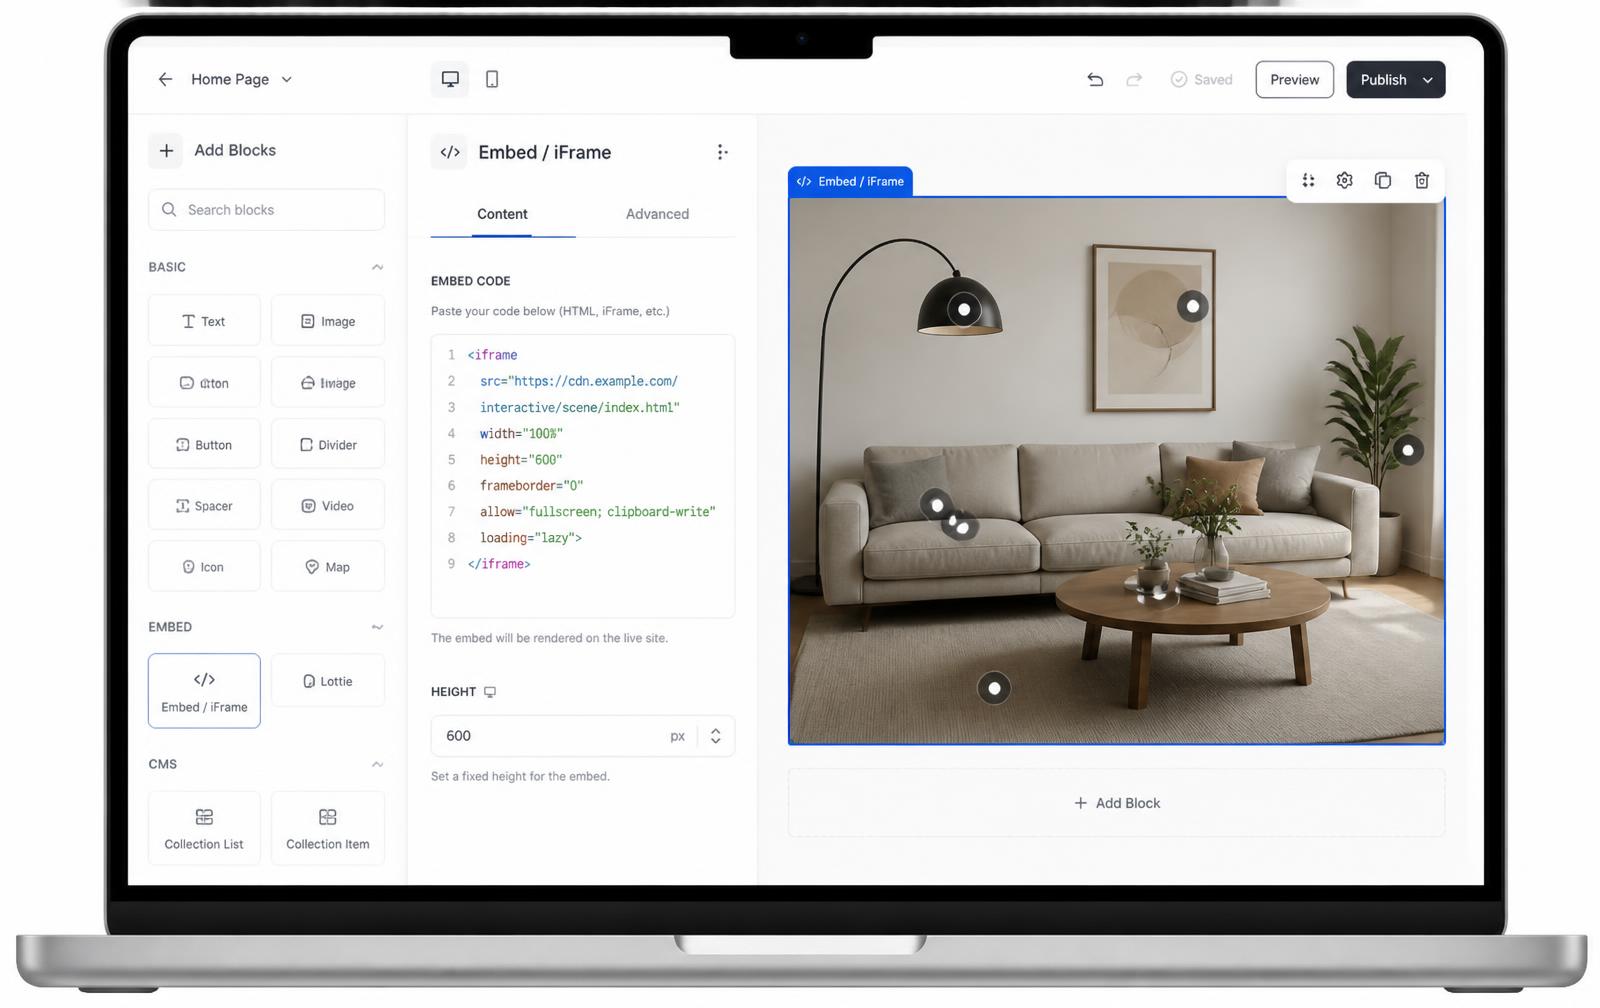
Custom Liquid, not an app
No app install, no theme edits beyond one Liquid block. Fewer moving parts to break during a theme update.
Hotspot-to-product links
Point each hotspot's CTA at a specific product, collection, or variant URL so shoppers check out in one click.
Same photo, more selling
Use the lifestyle photo you already have instead of shooting six separate product images for six features.
What you get
- Works in any Online Store 2.0 theme via Custom Liquid
- No app subscription or storefront API access needed
- Hotspot CTAs can link to products, variants, or collections
- Percentage-based positioning survives theme width changes
- Update hotspots without touching the theme again
- Pairs well with size charts, ingredient lists, or spec callouts
Where the Custom Liquid block actually lives
Shopify doesn't give merchants an HTML widget by default the way some builders do — you reach it through the theme editor's Custom Liquid section, which every Online Store 2.0 theme includes. It renders raw HTML, so an iframe drops in cleanly without fighting the theme's CSS.
- Design your hotspot image in the Interactive Image editor and place your hotspots.
- Open Embed and copy the iframe code.
- In the Shopify theme editor, open the page (product, page, or section group) and click Add block → Custom Liquid.
- Paste the iframe, wrap it in a container with a max-width if you want it narrower than full bleed, and Save.
If your theme doesn't expose Custom Liquid on product pages specifically, add the block to a regular Page template instead and link to it from your navigation or a product description.
What this replaces on a product page
Merchants often stack five or six annotated images to explain fit, materials, and included accessories — each one a static crop with an arrow drawn on top. One interactive image with five hotspots covers the same ground, loads once, and lets the shopper explore at their own pace instead of scrolling past images they don't care about. It's a good fit for apparel size and material callouts, electronics with multiple ports, and bundle listings where a single hero photo represents several SKUs. See the shoppable image maker for more on hotspot-to-checkout flows.
Send a hotspot straight to the cart
Most merchants point hotspot CTAs at product pages, which is right when the shopper still needs to choose a size. When the shot already shows the exact variant, you can skip a step with a Shopify cart permalink — no app, no Storefront API:
https://your-store.myshopify.com/cart/40123456789012:1

https://your-store.myshopify.com/cart/40123456789012:1?checkout
The long number is the variant ID (visible at the end of the URL when you open a variant in the Shopify admin) and the number after the colon is the quantity. The first form adds and shows the cart; adding ?checkout goes straight to checkout. Add UTM parameters to the same URL and every hotspot click becomes attributable in your analytics.
What to hotspot, by product type
| Store type | Hotspot each… | CTA |
|---|---|---|
| Apparel | Fabric, seam, pocket, fit detail | Size guide or variant |
| Home & furniture | Item in the room scene | That product's page |
| Electronics | Port, button, sensor | Spec section or accessory |
| Bundles & kits | Included component | Cart permalink |
| Beauty | Step in a routine | Next product in the set |
| Equipment & trade | Part or assembly | Replacement part page |
Sizing the embed in the theme
Wrap the snippet so it never outgrows your theme's content column, and give it the same aspect ratio as your image so nothing jumps while it loads:
<div style="max-width: 1100px; margin: 0 auto;">
  <div style="position:relative; aspect-ratio: 16 / 9;">
    <!-- paste the iframe here, then add: -->
    <!-- style="position:absolute; inset:0; width:100%; height:100%; border:0" -->
  </div>
</div>
Set aspect-ratio to your actual image ratio. If a section-width setting in the theme conflicts, set the theme section to full width and control the width in this wrapper instead.
Troubleshooting a Shopify embed
| Symptom | Cause | Fix |
|---|---|---|
| Nothing renders in the theme editor | The editor preview blocks some third-party frames | Save and view the live storefront URL before debugging |
| Embed is clipped or scrolls | Aspect ratio does not match the image | Re-copy the snippet, or set aspect-ratio to width ÷ height |
| Full-bleed and too wide | Section is set to full width | Wrap in a div with max-width and margin: 0 auto |
| Cart permalink 404s | Product ID used instead of variant ID | Use the variant ID from the admin variant URL |
| Hotspot link opens inside the frame | CTA set to same-tab with a relative URL | Use the full https:// store URL on every CTA |
| Custom Liquid missing on product pages | Theme does not expose it there | Use a Page template and link to it, or add a section group |
Where to place it on the page
Placement changes results more than hotspot count does. What tends to work on Shopify product pages:
- Below the buy box, above reviews. Shoppers who scroll past price are looking for detail — that is exactly what the hotspots answer.
- Replace the "features" image stack. One embed instead of five annotated crops means less scrolling and one thing to update.
- On collection landing pages. A single lifestyle shot hotspotted to six products works as a visual collection menu.
- In the size or spec section. Pair it with the real spec text in Liquid so search engines still see the numbers.
More patterns on the shoppable image maker and product diagrams.
Setup at a glance
Shopify · Custom Liquid section on product, collection, or page templates
- Time
- About 7 minutes
- Requirement
- Online Store 2.0 theme (Dawn and most modern themes)
- Section
- Custom Liquid
- Theme
- Online Store 2.0
- App required
- None
Step by step
How to add an interactive image to Shopify
Five steps, no developer. Everything below happens once — after that you edit hotspots in Interactive Image and your Shopify page updates on its own.
- 01
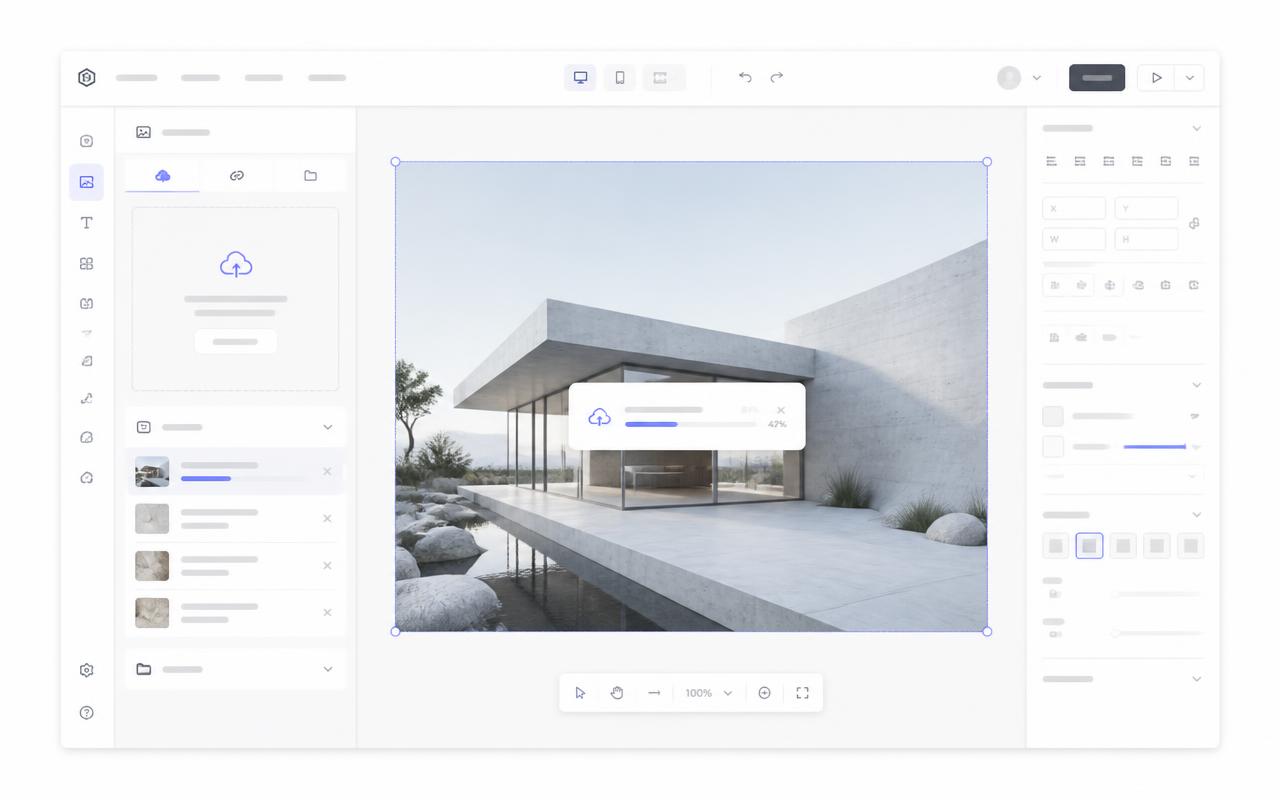
Upload your product visual
Use a hero product photo, exploded diagram, or lifestyle shot — whatever you want shoppers to explore.
- 02
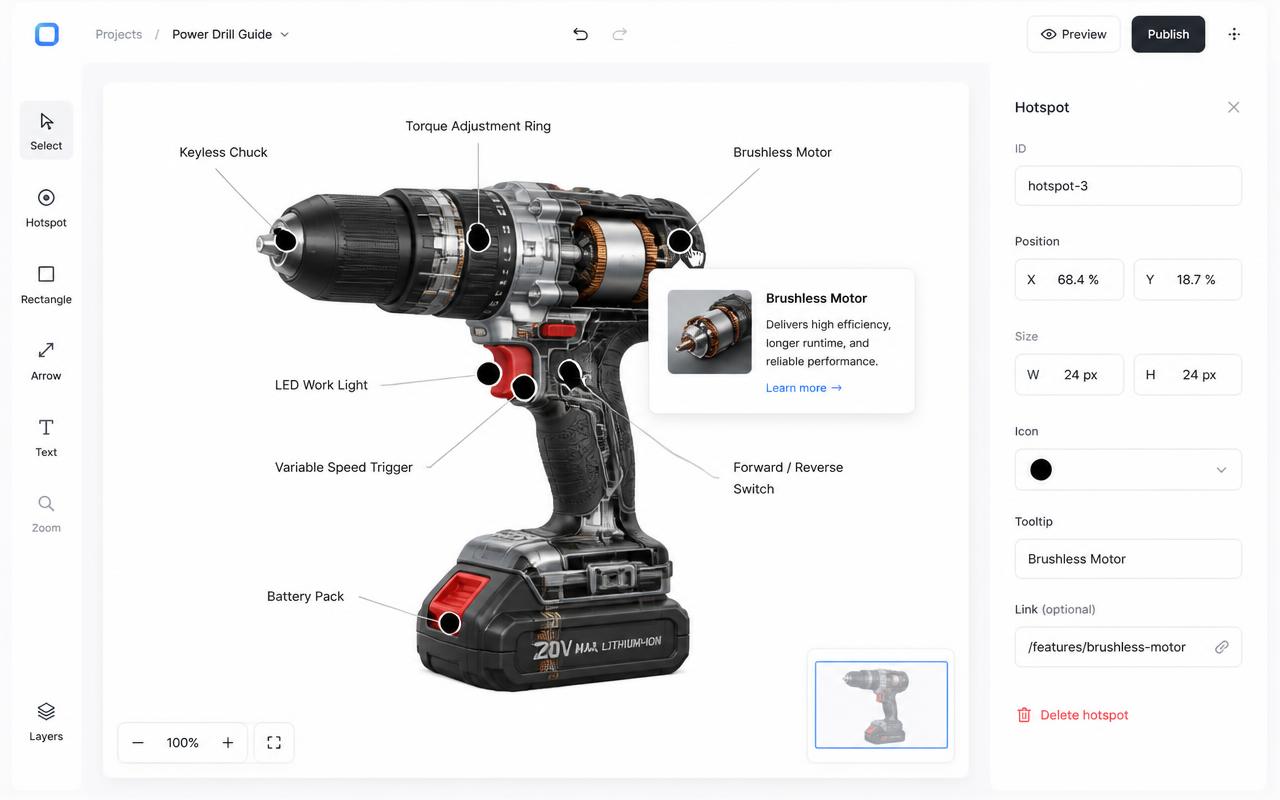
Annotate the features
Add a hotspot per feature with a photo, a short benefit line, and a CTA that links straight to the variant or collection.
- 03
Copy the embed
Copy the responsive iframe from the Embed panel.
<div style="position:relative;width:100%;padding-top:56.25%">
  <iframe src="https://interactiveimage.com/embed/YOUR-ID"
    style="position:absolute;inset:0;width:100%;height:100%;border:0"
    scrolling="no" loading="lazy"></iframe>
</div>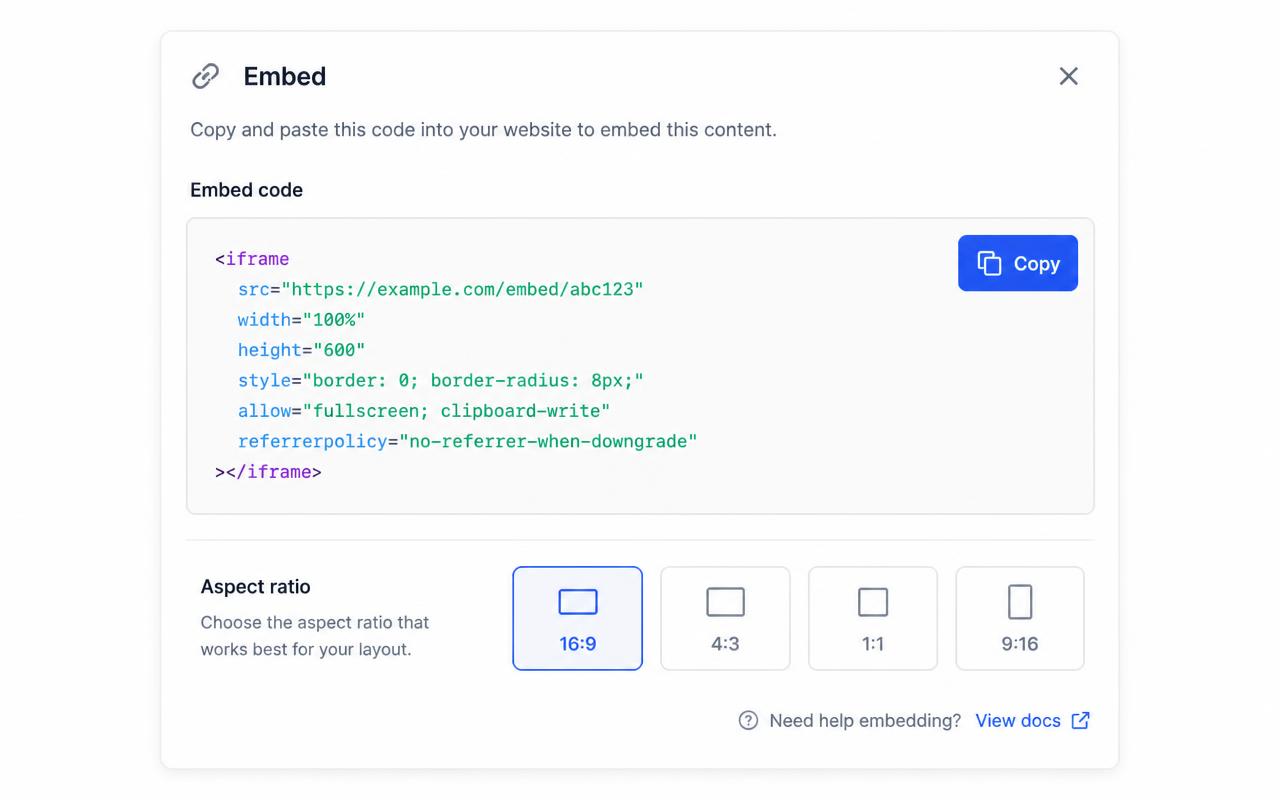
- 04
Add a Custom Liquid section
In Online Store → Customize, open the template, click Add section → Custom Liquid, and paste the snippet into the code field.
- 05
Position it and save
Drag the section above or below the product description, preview on mobile, then Save. Shoppers can now tap any hotspot to see the detail and jump to the right product.
Troubleshooting
Fixes for the Shopify issues people hit
I can't find Custom Liquid
Your theme is likely a vintage (pre-2.0) theme. Either update to a 2.0 theme or paste the snippet into a page's HTML source via the rich text editor's code view.
The embed pushes my Add to Cart below the fold on mobile
Place the section below the product form, or use a taller-than-wide crop of your image so the embed stays compact on phones.
Where do I choose the map type and edit a dot?
In the account dashboard, New Map offers Image map or Mapbox map. This choice is fixed after creation. For image maps, choose Upload Background Image and Add new dot; geographic maps offer address search and Import locations. Select a dot and use Content for its type, text, media, and links, Appearance for that dot, and Map settings for shared defaults. Enable embedding and copy the current snippet before publishing it on your website.
The embed looks cropped or has scrollbars
The iframe height doesn't match the image aspect ratio. Copy a fresh snippet from the Embed panel — it bakes the exact ratio into a padding-based wrapper — or set the iframe height to width ÷ aspect ratio.
Hotspots look slightly offset from the artwork
That happens when the container letterboxes the image. Interactive Image measures the rendered image box, so hotspots stay glued to the artwork — just make sure you didn't force a fixed height that differs from the image ratio.
Changes aren't showing on the live site
Save in the editor, then hard-refresh the published page. The embed always renders the latest saved version — you never need to re-paste the snippet unless the aspect ratio changed.
Turn any image into a guided experience.
Free forever plan. Paste one iframe into your site and ship.
Create your interactive image