

For Ghost
Interactive hotspot images inside Ghost posts.
Ghost's HTML card takes raw iframe embeds without a plugin. Paste one in and readers get a clickable, annotated diagram instead of a flat screenshot.
Free forever plan · No credit card · Works in Wix, Webflow, WordPress, Shopify, Squarespace
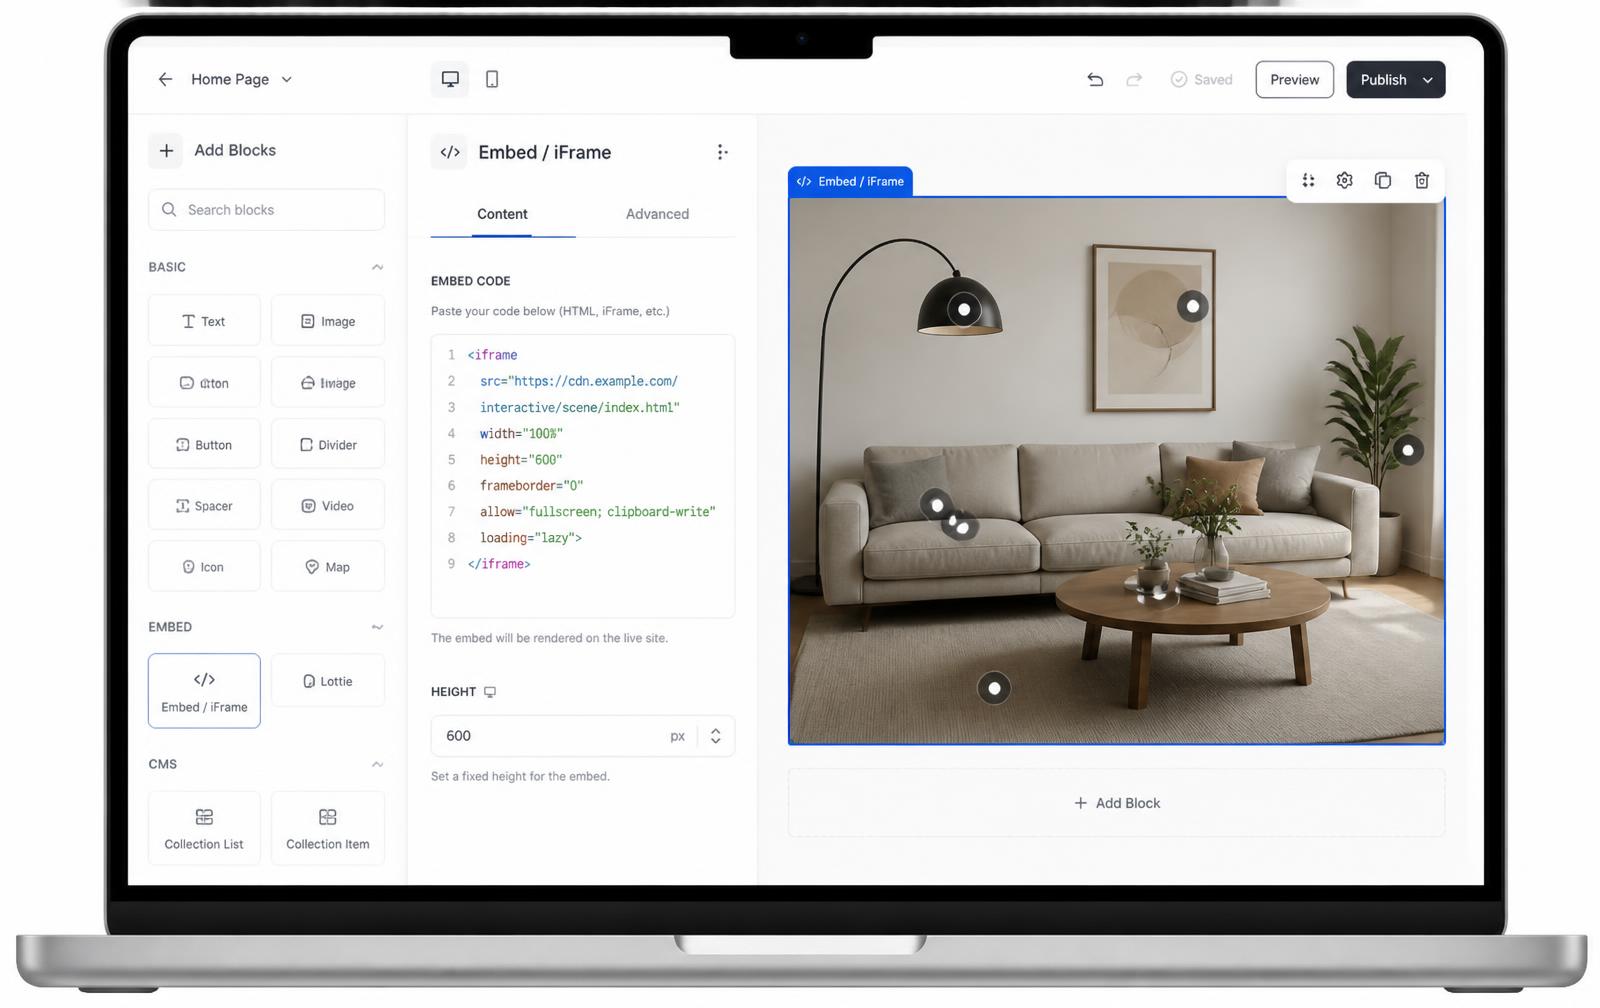
HTML card, built in
Every Ghost editor has an HTML card by default — no theme edits or integrations needed.
Works with any theme
It is plain HTML inside the post body, so it inherits the theme's content column width automatically.
Publish once, update forever
Edit the hotspots later and every published post showing that embed updates itself.
What you get
- No plugin or template changes required
- Works on Ghost(Pro) and self-hosted Ghost equally
- Fits inside the post's normal content width
- Good for long-form explainer and tutorial posts
- Hotspot cards carry screenshots, video, and links
- Works in pages, posts, and members-only content
Step by step in the Ghost editor
- Build the interactive image and copy the iframe from the Embed panel — the aspect ratio is already filled in for you.
- In Ghost, open the post and put the cursor on an empty line where the image should appear.
- Type
/htmland press Enter, or click the + and choose HTML. - Paste the snippet, then click outside the card so Ghost renders it.
- Open Preview and check both the desktop and mobile views, then publish.
<iframe
  src="https://interactiveimage.com/embed/your-map-id"
  style="width:100%;border:0;aspect-ratio:1.6;overflow:hidden;display:block;"
  scrolling="no"
  loading="lazy"
  title="Annotated diagram"
></iframe>
Nothing else goes on the page — no script tag, no theme partial, no code injection.
Making it wider than the reading column
Ghost themes usually cap post content around 720px, which is fine for a screenshot and tight for a wide diagram. Two ways out, in order of effort:
- Use the theme's wide or full-width class. Casper and most themes based on it support
kg-width-wideandkg-width-full. Wrap the iframe in a div with that class inside the HTML card. - Crop the image instead. A wide diagram squeezed into a narrow column is unreadable on a phone regardless of the wrapper. Splitting one 3000px-wide schematic into two taller images often reads better than fighting the layout.
<div class="kg-card kg-width-wide">
  <iframe src="https://interactiveimage.com/embed/your-map-id"
    style="width:100%;border:0;aspect-ratio:1.6;overflow:hidden;display:block;"
    scrolling="no" loading="lazy" title="Annotated diagram"></iframe>
</div>
Web post vs email newsletter
Ghost publishes the same post to two very different renderers, and iframes only survive one of them. Plan for both:
| Channel | Interactive embed | What to do |
|---|---|---|
| Web post or page | Works fully | Embed normally |
| Email newsletter | Stripped | Screenshot + "explore it on the web" link |
| RSS feed | Usually dropped | Add a caption describing the image |
| Social link preview | Uses the post's feature image | Set a feature image that shows the diagram |
Where it earns its place in a publication
Ghost is home to independent writers, developer blogs, and technical publications — content where one well-annotated image replaces several paragraphs. Good candidates:
- Tutorials — label the UI in place instead of writing "see arrow 3 in the screenshot below".
- Teardowns and explainers — hotspot each component of a product, chart, or architecture diagram.
- Reference pages — a permanent product diagram you keep linking back to from new posts.
- Site and venue guides — see the interactive map maker.
New to the format? Start with what is an interactive image or the interactive image maker.
Keeping the post rankable
Because the hotspot copy lives in the iframe, it does not count as post content for search. Write the key labels and takeaways into the body text around the embed — a short list of the same items you hotspotted works well — and give the post a descriptive caption. That way the post ranks on its prose and the embed carries the experience. Details in SEO for interactive images.
Setup at a glance
Ghost · HTML card inside any post or page
- Time
- About 4 minutes
- Requirement
- Ghost(Pro) or self-hosted Ghost — no plugin needed
- Card
- HTML
- Hosting
- Ghost(Pro) & self-hosted
- Newsletter
- Falls back to the image
Step by step
How to add an interactive image to Ghost
Five steps, no developer. Everything below happens once — after that you edit hotspots in Interactive Image and your Ghost page updates on its own.
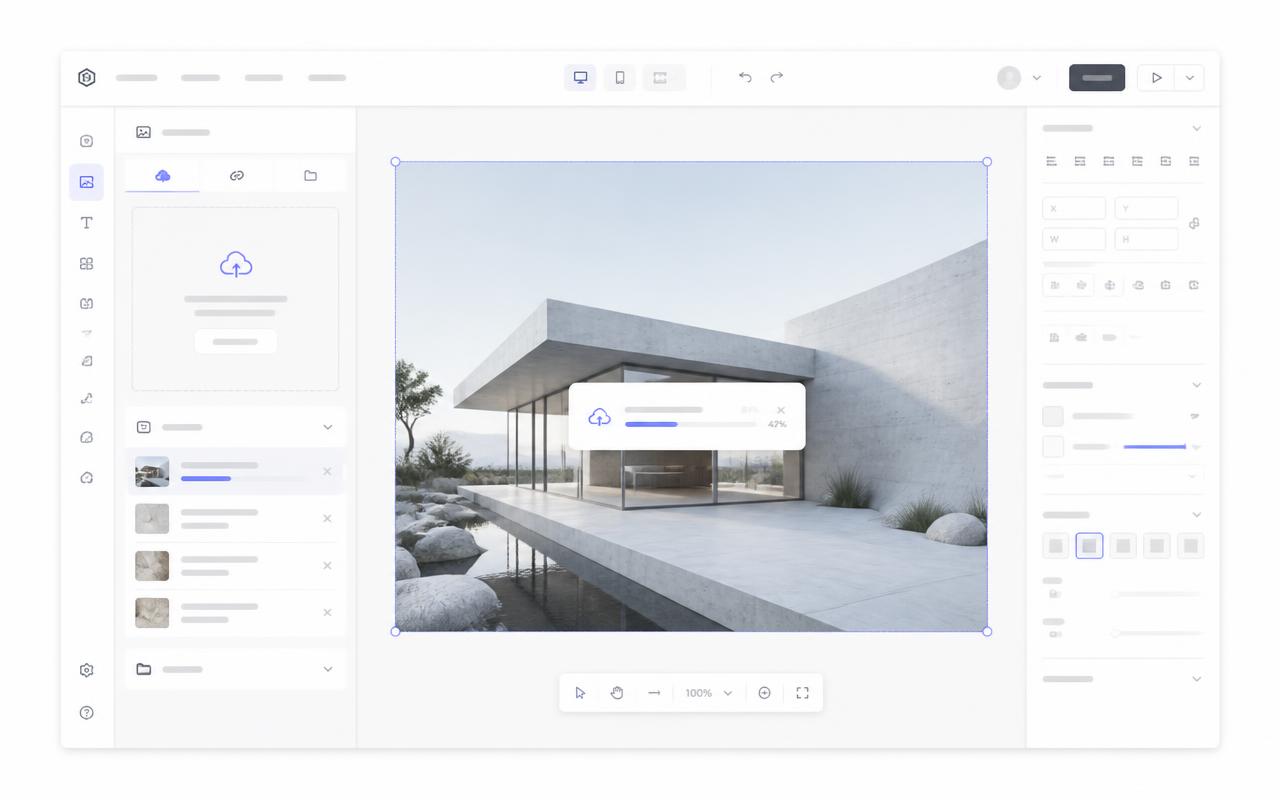
- 01
Upload your image
Create the interactive image and upload the visual for your post.
- 02
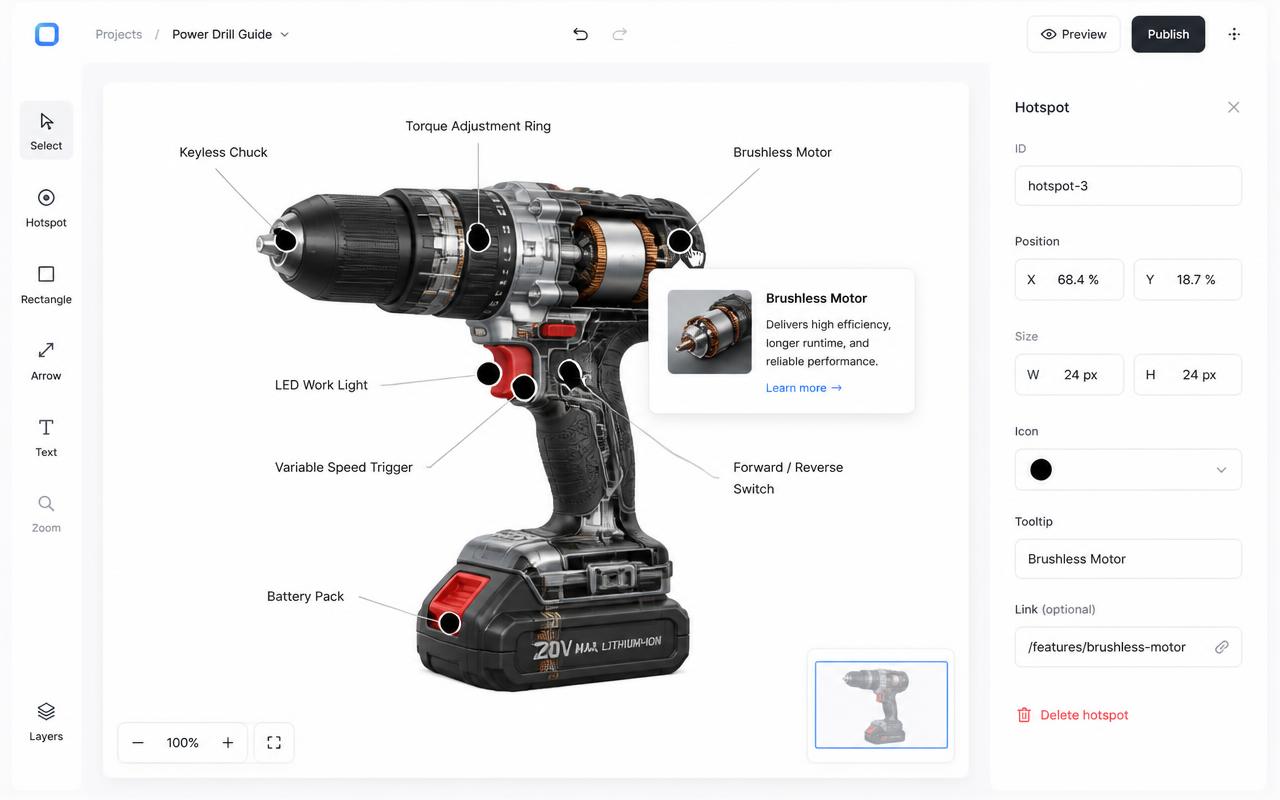
Add annotated hotspots
Drop a dot on each detail you'd normally explain in a caption, and write the card content.
- 03
Copy the snippet
Copy the responsive iframe from the Embed panel.
<div style="position:relative;width:100%;padding-top:56.25%">
  <iframe src="https://interactiveimage.com/embed/YOUR-ID"
    style="position:absolute;inset:0;width:100%;height:100%;border:0"
    scrolling="no" loading="lazy"></iframe>
</div>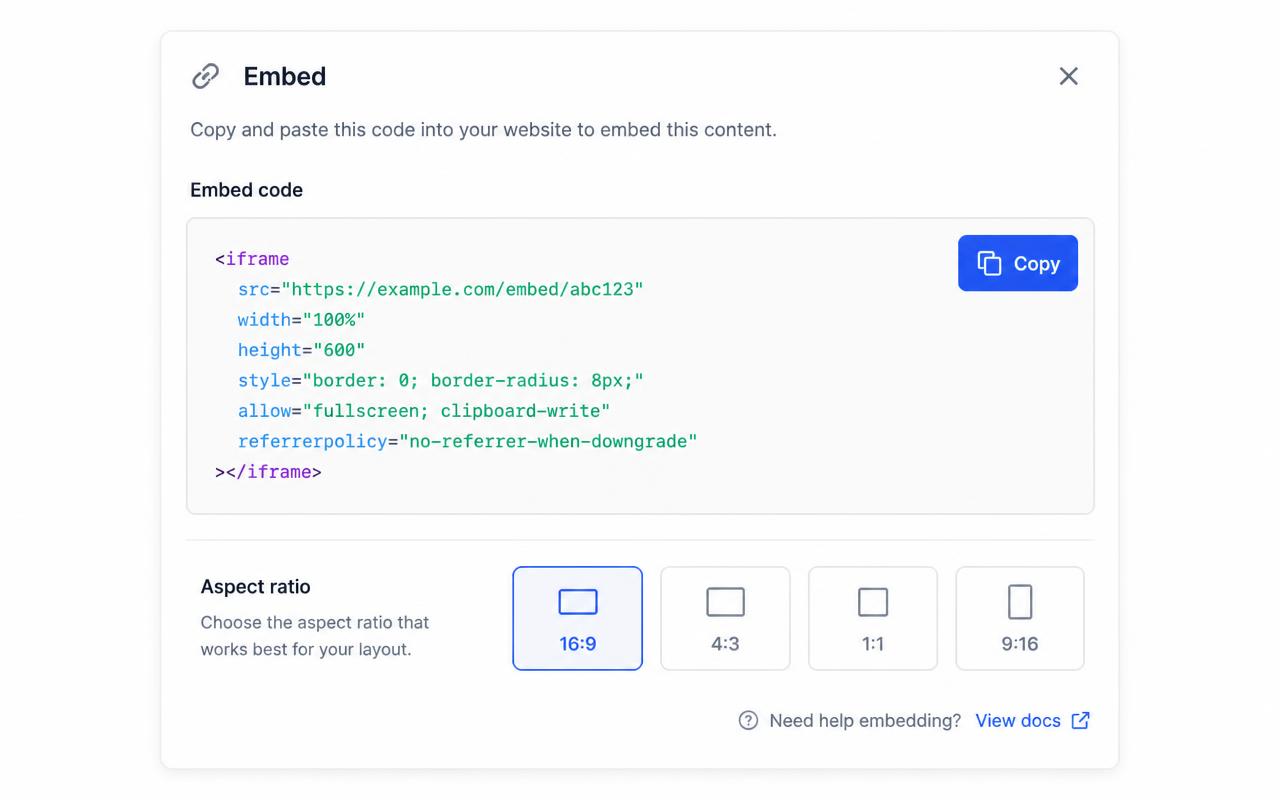
- 04
Add an HTML card
In the Ghost editor, type /html on a new line and paste the snippet into the card.
- 05
Publish the post
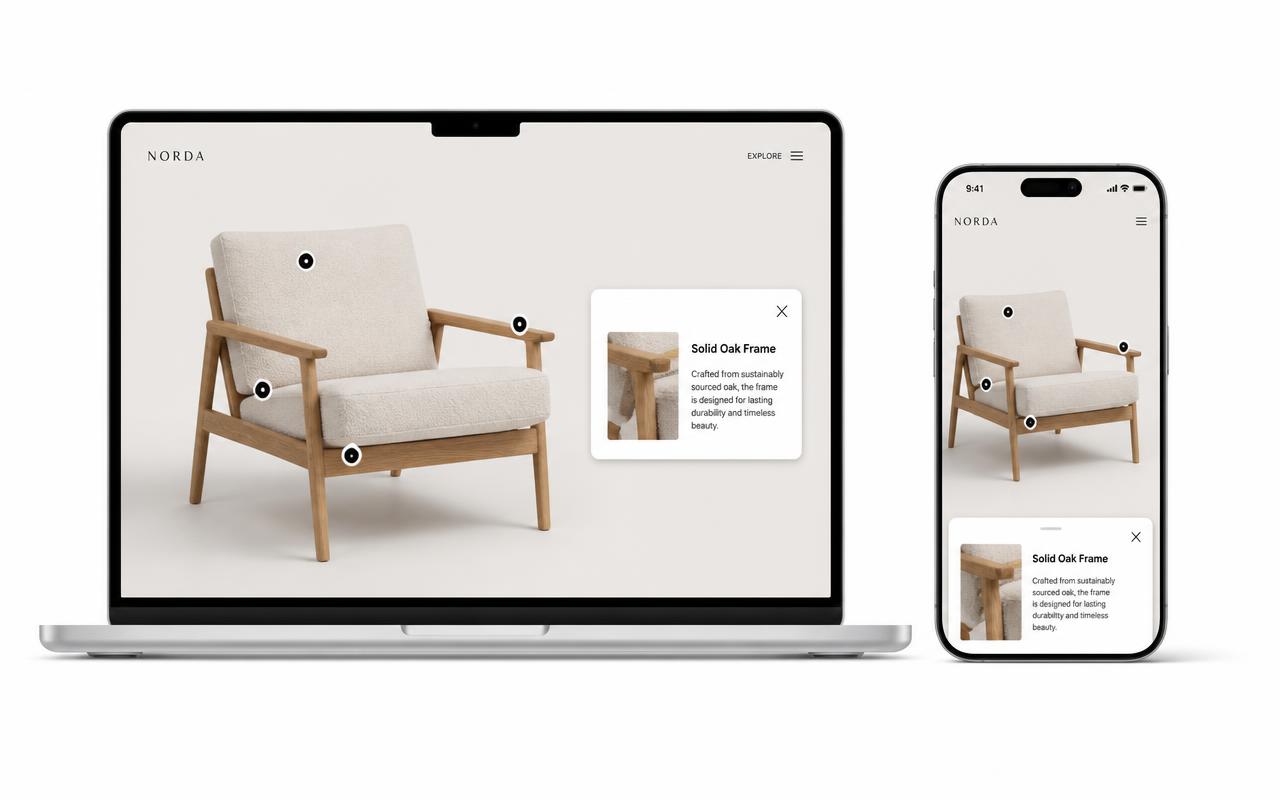
Publish and read the post on desktop and phone. Readers can tap hotspots inline without leaving the article.
Troubleshooting
Fixes for the Ghost issues people hit
The embed is narrower than my images
Ghost themes cap content width. Wrap the card in a full-width or wide card if your theme supports it, and keep the iframe at width 100%.
Where do I choose the map type and edit a dot?
In the account dashboard, New Map offers Image map or Mapbox map. This choice is fixed after creation. For image maps, choose Upload Background Image and Add new dot; geographic maps offer address search and Import locations. Select a dot and use Content for its type, text, media, and links, Appearance for that dot, and Map settings for shared defaults. Enable embedding and copy the current snippet before publishing it on your website.
The embed looks cropped or has scrollbars
The iframe height doesn't match the image aspect ratio. Copy a fresh snippet from the Embed panel — it bakes the exact ratio into a padding-based wrapper — or set the iframe height to width ÷ aspect ratio.
Hotspots look slightly offset from the artwork
That happens when the container letterboxes the image. Interactive Image measures the rendered image box, so hotspots stay glued to the artwork — just make sure you didn't force a fixed height that differs from the image ratio.
Changes aren't showing on the live site
Save in the editor, then hard-refresh the published page. The embed always renders the latest saved version — you never need to re-paste the snippet unless the aspect ratio changed.
Frequently asked questions
Can I use several interactive images in one post?
Yes. Add one HTML card per image; they are independent.
Does it work with dark-mode themes?
Yes. The embed renders its own styling, so it looks the same regardless of the theme's colour mode. Pick a marker colour that reads against your image, not against the page.
Turn any image into a guided experience.
Free forever plan. Paste one iframe into your site and ship.
Create your interactive image