

For HubSpot
Hotspot images for HubSpot landing pages.
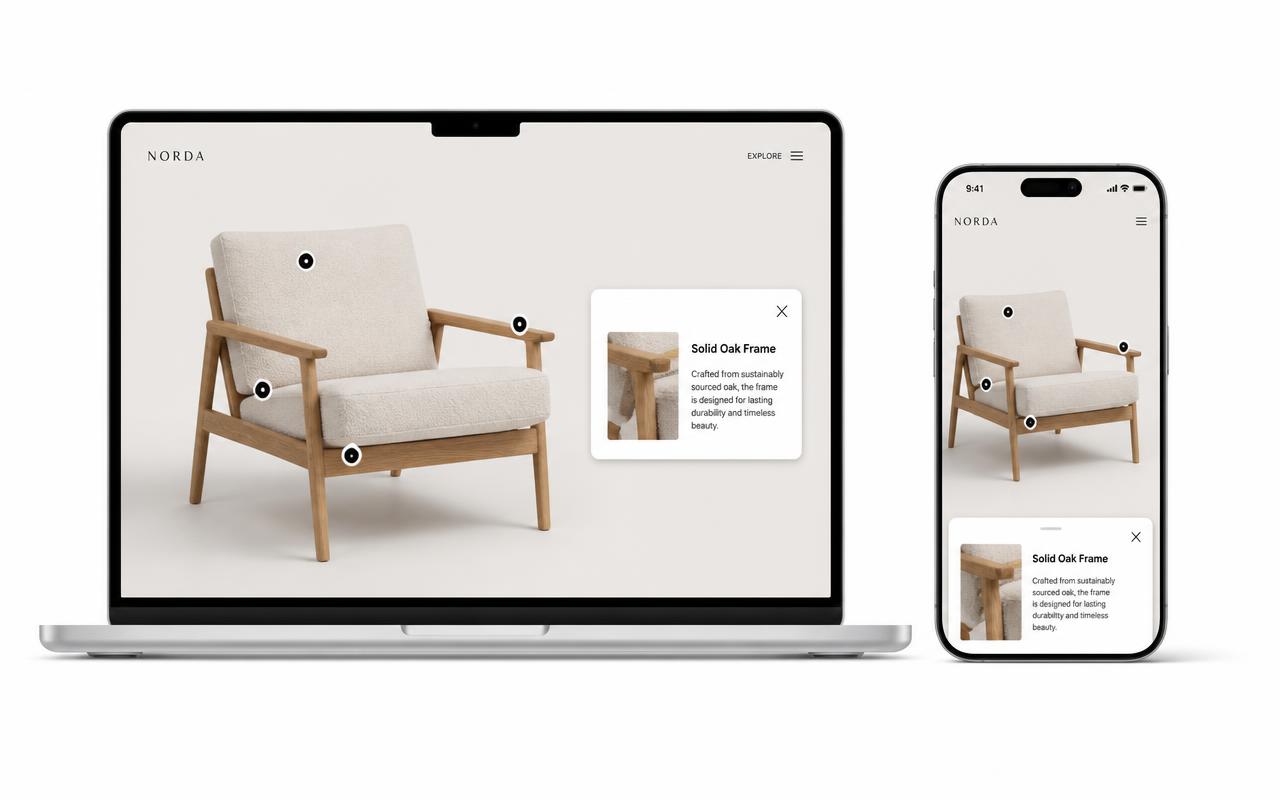
Drop an HTML module into your HubSpot page builder, paste one iframe, and turn a static screenshot into something prospects click through.
Free forever plan · No credit card · Works in Wix, Webflow, WordPress, Shopify, Squarespace
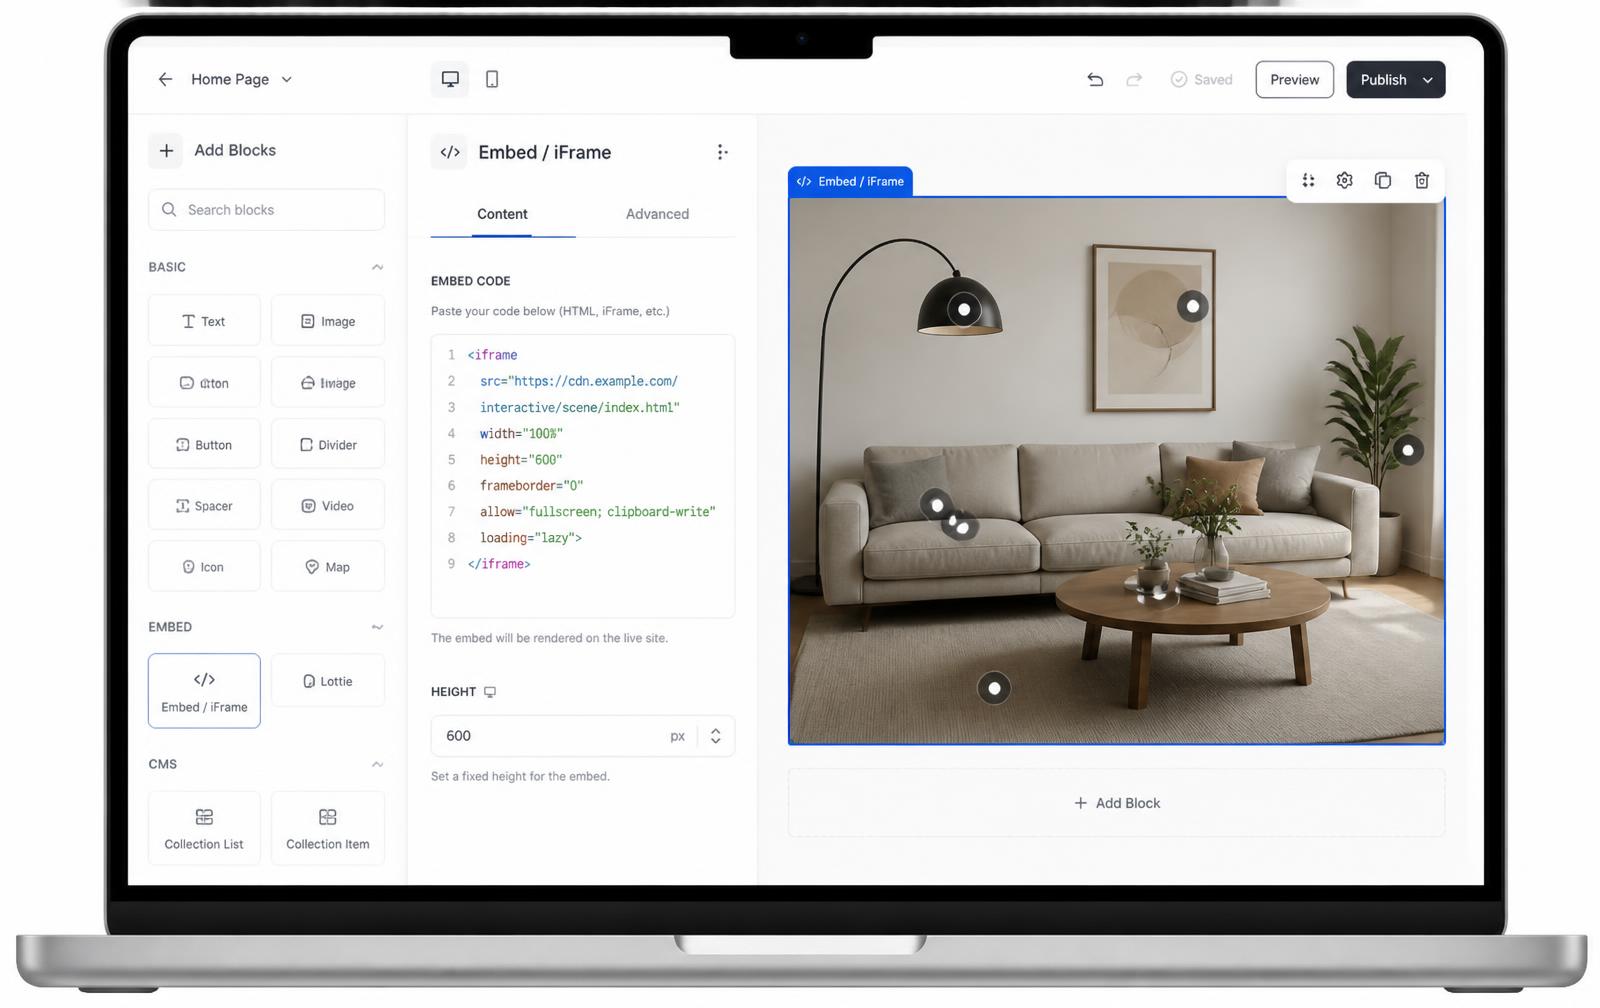
HTML module, no dev sprint
Marketers can add the embed themselves through HubSpot's drag-and-drop module — no template edit request needed.
Pairs with forms and CTAs
Place the hotspot image above a HubSpot form module to demo a product before asking for an email.
Consistent across pages
Reuse the same embed on a landing page, a blog post, and a knowledge base article without rebuilding it three times.
What you get
- Add it yourself via the HTML module — no developer ticket
- Works on landing pages, website pages, and blog posts
- Safe to place next to HubSpot form and CTA modules
- Good for product demo pages and feature comparison content
- Update once in Interactive Image, every page reflects it
Where marketing teams use this
HubSpot pages are usually built to move a visitor toward a form fill, and a screenshot of a product dashboard often does the least work of any element on the page. Turning it into a hotspot image gives visitors a reason to interact before they scroll to the CTA — pointing out a feature, a metric, or a workflow step with a short description in a popup. It's a good fit for product marketing pages, feature comparison posts, and gated resource pages that need one strong visual to justify the form. For the broader embed workflow, see the interactive image maker.
Three places to paste the embed in HubSpot
HubSpot's editor looks a little different depending on the content type, but the embed mechanism is always the same: an HTML-capable module.
- CMS / website pages and landing pages: Drag a "Rich text" module into the section and click the source code icon (
<>) in its toolbar, or drag a dedicated "HTML" module if your template includes one. Paste the iframe snippet and save. - Blog posts: In the post body's rich text editor, place your cursor where the image should go, open the source code view the same way, and paste the snippet.
- Drag-and-drop templates built by a developer: If the section is locked to specific field types, ask them to add a "Rich text" or "HTML" field to that module — a one-time template change, not a per-page task.
Sizing the embed inside a HubSpot module
HubSpot's rich text and HTML modules don't force a container size the way some page builders do, so the safest setup is a responsive wrapper baked into the snippet itself:
<div style="position:relative;width:100%;aspect-ratio:16/9">
  <iframe src="https://interactiveimage.com/embed/YOUR-ID"
    style="position:absolute;inset:0;width:100%;height:100%;border:0"
    scrolling="no" loading="lazy" title="Interactive image"></iframe>
</div>
Because the wrapper is percentage-based, it fills the module's column width on desktop and shrinks with HubSpot's responsive grid on mobile without a second snippet.
Troubleshooting HubSpot embed issues
| Symptom | Cause | Fix |
|---|---|---|
| Source code icon is missing from the toolbar | Module is a plain text or restricted field type | Switch to a rich text module, or ask a template editor to add one |
| Embed disappears after saving | HubSpot's editor sometimes strips iframe on re-save from certain module types | Use the dedicated HTML module instead of rich text if this happens repeatedly |
| Image cropped or scrollbar appears | Module column narrower or wider than the image's aspect ratio | Use the aspect-ratio wrapper snippet from the Embed panel |
| Works on desktop, blank in an email | Email clients strip iframes | Link to a landing page hosting the embed instead of embedding in the email |
| Preview shows the embed but live page doesn't | Page published before the module change was saved | Re-save the module, then republish the page |
Setup at a glance
HubSpot · Rich text module (source code view) or custom HTML module
- Time
- About 6 minutes
- Requirement
- CMS Hub, landing pages, or the blog tool
- Module
- Rich text / HTML
- Surfaces
- Landing pages, blog, website
- Tracking
- Use tracked CTA URLs
Step by step
How to add an interactive image to HubSpot
Five steps, no developer. Everything below happens once — after that you edit hotspots in Interactive Image and your HubSpot page updates on its own.
- 01
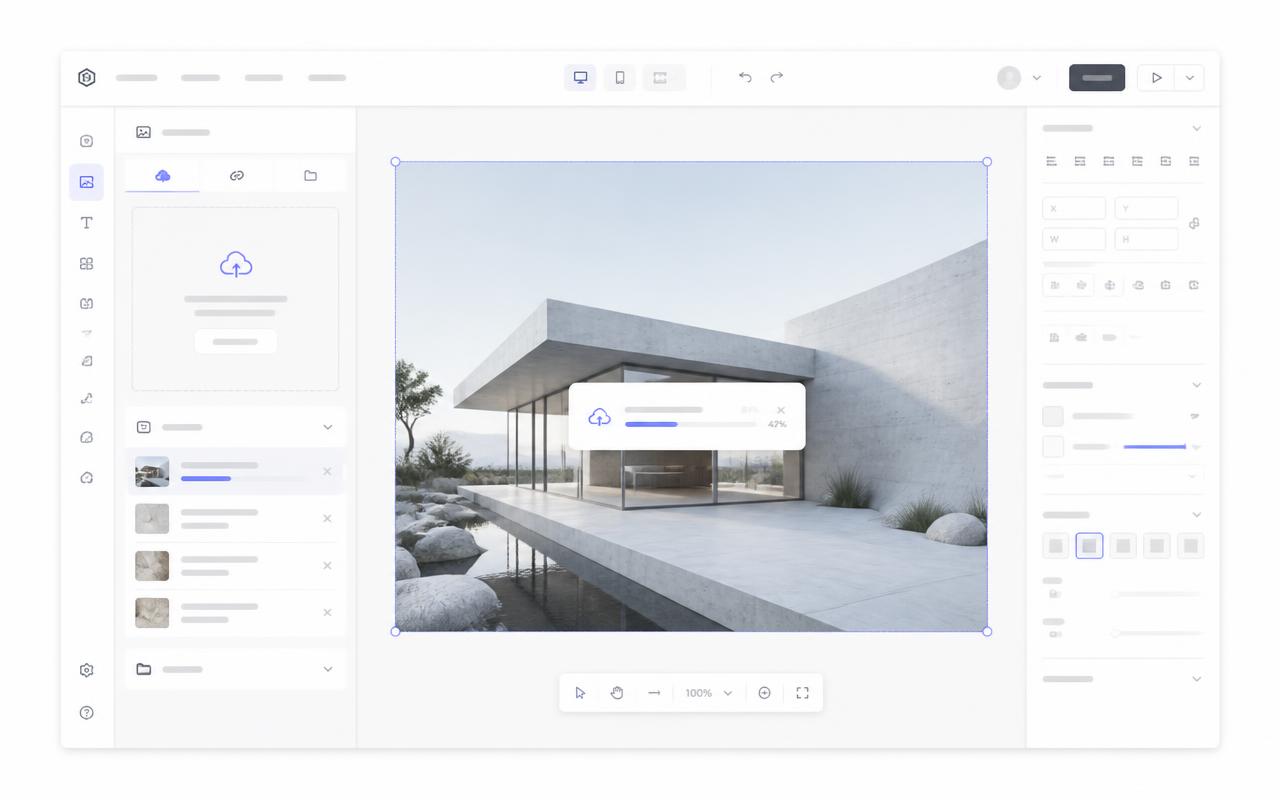
Upload your image
Create the interactive image for your landing page or blog post.
- 02
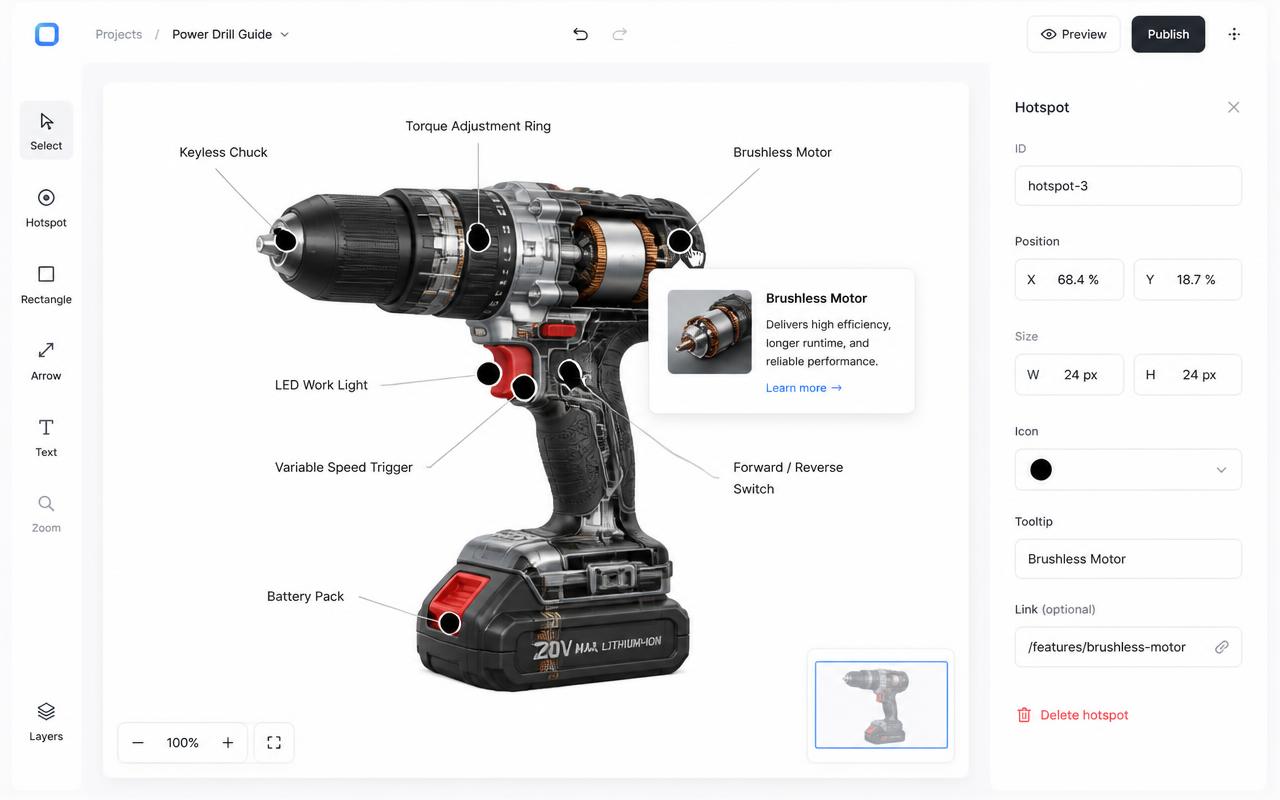
Build the hotspots
Add a dot per feature with copy, media, and a CTA link pointing at your form or offer.
- 03
Copy the snippet
Copy the responsive iframe from the Embed panel.
<div style="position:relative;width:100%;padding-top:56.25%">
  <iframe src="https://interactiveimage.com/embed/YOUR-ID"
    style="position:absolute;inset:0;width:100%;height:100%;border:0"
    scrolling="no" loading="lazy"></iframe>
</div>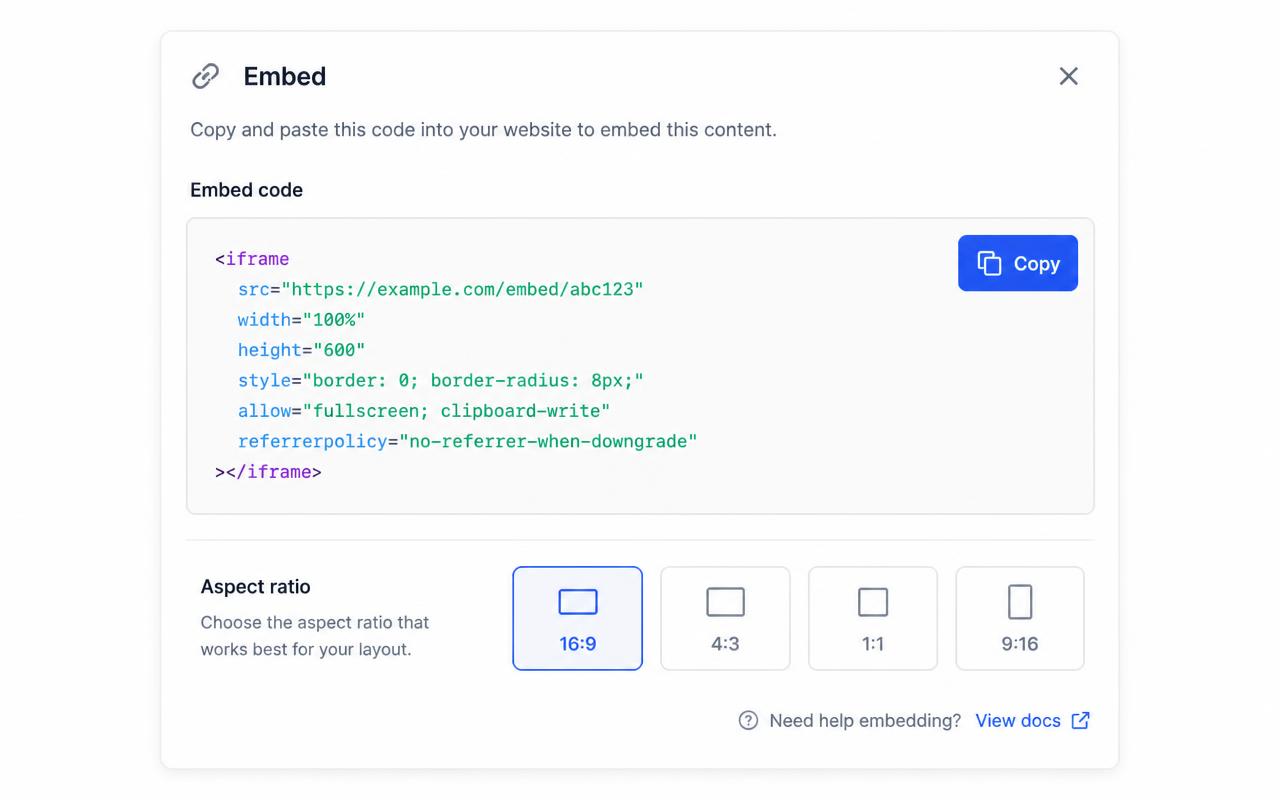
- 04
Paste into the editor
Open a rich text module, click the Advanced menu → Source code, and paste the snippet. On drag-and-drop pages you can also add a plain HTML module.
- 05
Publish and measure
Publish the page. Hotspot CTAs can point at HubSpot forms or tracked URLs so engagement lands in your reports.
Troubleshooting
Fixes for the HubSpot issues people hit
HubSpot stripped my code
The rich text editor sanitizes markup pasted into the visual view. Always paste inside Advanced → Source code, or use a dedicated HTML module.
Where do I choose the map type and edit a dot?
In the account dashboard, New Map offers Image map or Mapbox map. This choice is fixed after creation. For image maps, choose Upload Background Image and Add new dot; geographic maps offer address search and Import locations. Select a dot and use Content for its type, text, media, and links, Appearance for that dot, and Map settings for shared defaults. Enable embedding and copy the current snippet before publishing it on your website.
The embed looks cropped or has scrollbars
The iframe height doesn't match the image aspect ratio. Copy a fresh snippet from the Embed panel — it bakes the exact ratio into a padding-based wrapper — or set the iframe height to width ÷ aspect ratio.
Hotspots look slightly offset from the artwork
That happens when the container letterboxes the image. Interactive Image measures the rendered image box, so hotspots stay glued to the artwork — just make sure you didn't force a fixed height that differs from the image ratio.
Changes aren't showing on the live site
Save in the editor, then hard-refresh the published page. The embed always renders the latest saved version — you never need to re-paste the snippet unless the aspect ratio changed.
Turn any image into a guided experience.
Free forever plan. Paste one iframe into your site and ship.
Create your interactive image