

How do you make an image interactive?
Upload the image, click each point you want clickable, and write a short title, description and link for each one. Then paste the embed snippet into your page. With Interactive Image the builder runs in the browser, so making and previewing an interactive image takes minutes and needs no account.
Interactive image maker
Make an interactive image, no code required.
Upload a picture, drop hotspots exactly where they belong, and publish a responsive embed for any website. Free forever, works everywhere.
Free forever plan · No credit card · Works in Wix, Webflow, WordPress, Shopify, Squarespace
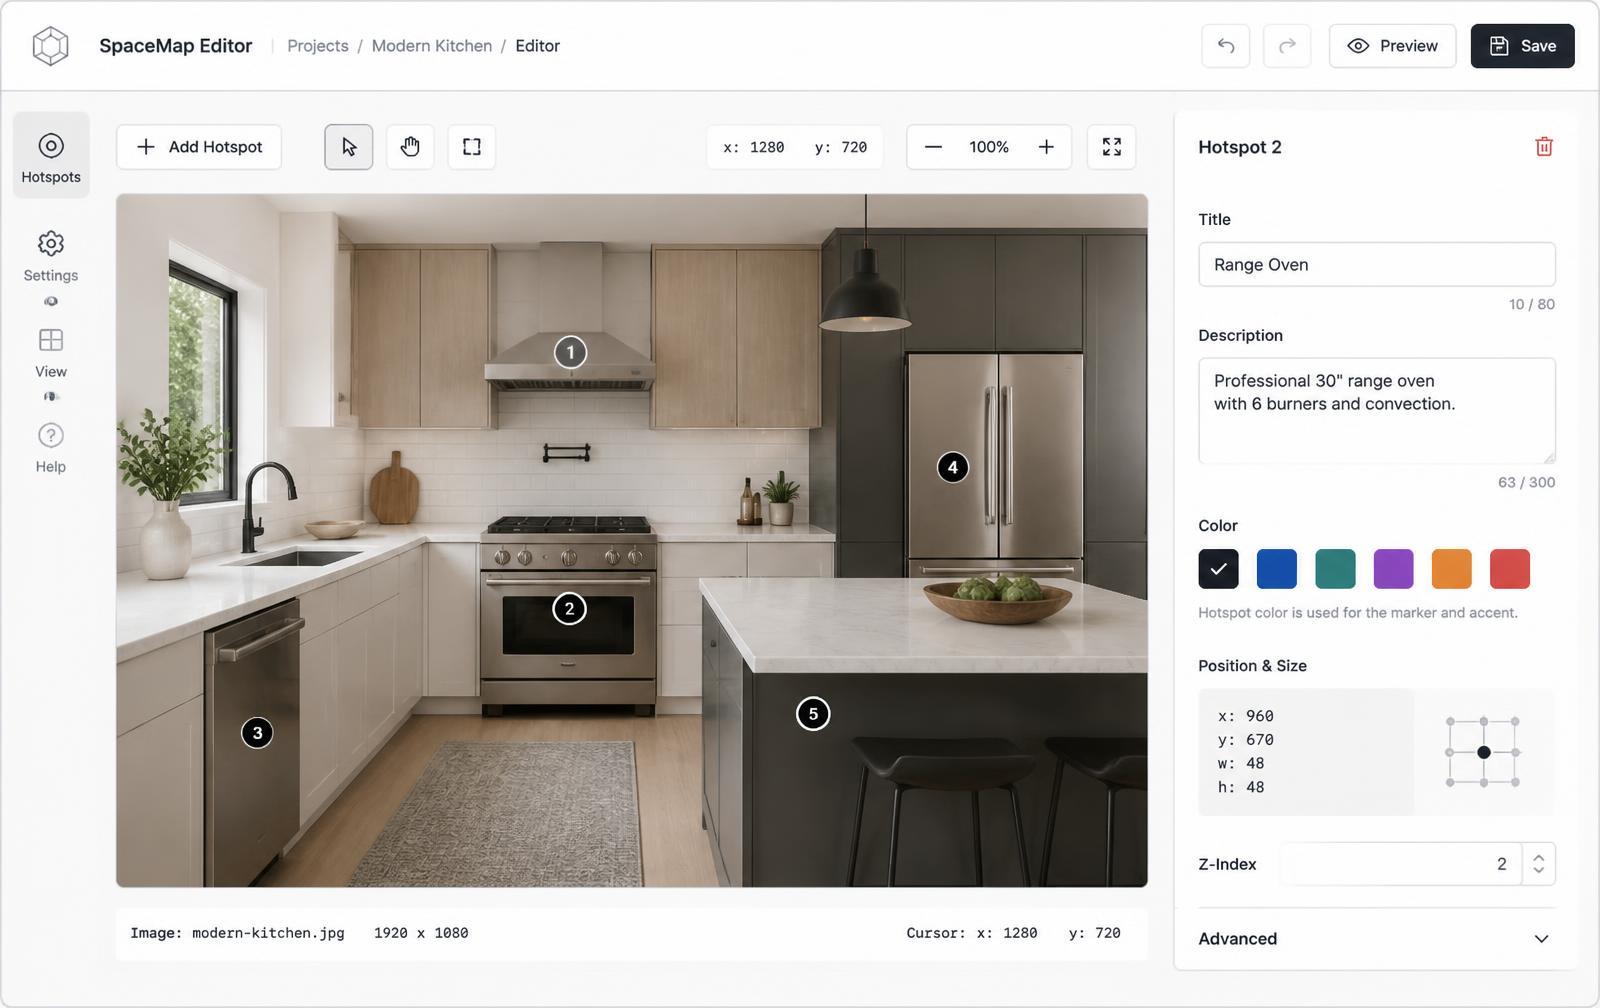
Make your interactive image right here
Upload an image or use the sample, click to place hotspots, and hover to see the cards. Publish with a free account to get your embed code.
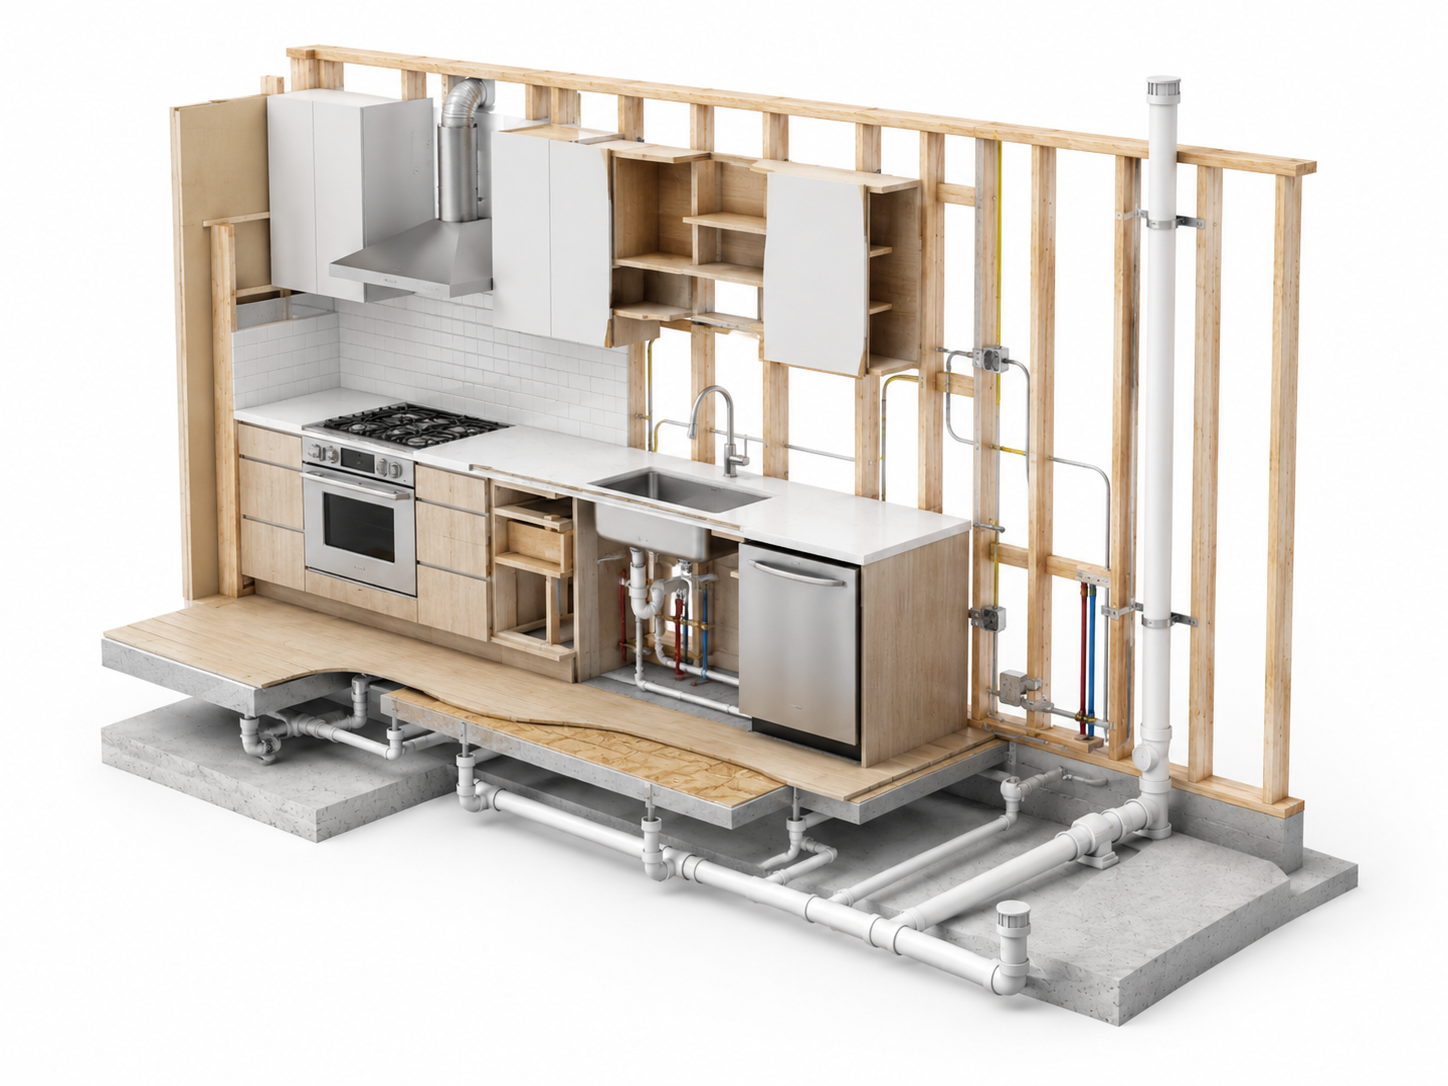
This is a live demo — nothing here is published yet. Create a free account to publish your image and get a one-line embed code for Wix, Webflow, WordPress, Squarespace or plain HTML, with hosted images, images and video in the cards, CTA buttons and edits that go live instantly. Free includes 1 published image with the Interactive Image badge; Pro removes the badge and unlocks white-label embeds.
Precise placement
Drag hotspots to the exact pixel. Percentages keep them perfect on desktop, tablet, and mobile.
Rich info cards
Titles, descriptions, images, video, and CTAs — right inside every hotspot popup.
One-click embed
Copy one iframe. Paste it into Wix, Webflow, WordPress, Shopify, or Squarespace.
What you get
- Info, Product, Media, Step, Link, and Location dots
- Responsive across every device
- Category filters and numbered markers
- Prev/next navigation for guided tours
- Video and CTA buttons inside popups
- Publish in under five minutes
Choose the content, then style the dot
In the account editor, select a dot and open Content. Choose Info, Product, Media, Step, Link, or Location, then fill in the fields shown for that type. Upload card images or supply a video URL where relevant. Appearance changes the selected dot; Map settings controls shared defaults, card themes, and publishing. Preview the selected dot before embedding. To build a geographic map instead of an uploaded image, choose Mapbox map in New Map.
The whole workflow, start to finish
Making an interactive image takes about five minutes the first time. There is no canvas to learn and nothing to install — the editor runs in the browser and the output is a single iframe.
- Prepare the image. Export at the size you actually want people to inspect. 1600–2400px wide is right for product diagrams and floor plans; 1200px is plenty for a lifestyle photo. Keep the original aspect ratio — the embed matches it automatically so there are no letterbox bars.
- Upload it. The file is stored once and served to every visitor from the embed, so you never have to host it yourself or worry about a builder re-compressing it.
- Click to place hotspots. Each click drops a marker; drag it afterwards to nudge it into place. The editor shows the live percentage coordinates so you can copy the same point onto a second image if you need to.
- Write the cards. Title first — it is what shows on hover — then two or three sentences of description. Add an image if the detail benefits from a close-up, a video for an install step, and a CTA link for anything that should send the visitor onward.
- Style the markers. Dots for unobtrusive callouts, numbers when order matters, pins for map-style images. Set colour and size once at the image level, and override individual hotspots where contrast demands it.
- Publish and embed. Copy the iframe, paste it into an embed or code block, and you are done. Every future edit is live instantly on every page using that snippet.
What one embed line looks like
This is the entire snippet the editor gives you. The aspect ratio is baked in from your image, so the embed never scrolls and never leaves empty space:
<iframe
  src="https://interactiveimage.com/embed/your-map-id"
  style="width:100%;border:0;aspect-ratio:1.6;overflow:hidden;display:block;"
  scrolling="no"
  loading="lazy"
></iframe>
aspect-ratio is your image's width ÷ height — 1.6 for a 1600×1000 image — which is why the embed sizes itself correctly instead of needing a fixed pixel height per breakpoint. There is also a shareable standalone page at interactiveimage.com/i/your-slug if you want to send the image as a link rather than embed it.
Interactive image vs the alternatives
| Approach | Responsive? | Rich cards? | Edit after publish |
|---|---|---|---|
| HTML <map> / <area> | No — fixed pixel coords | No — links only | Regenerate and re-paste |
| CSS overlay anchors | Yes, if you write percentages | Only what you hand-build | Edit markup on every page |
| Builder hotspot widget | Usually | Limited, platform-specific | Locked to that one platform |
| Interactive Image | Yes, by default | Text, image, video, CTA | Edit once, all embeds update |
What people build with it
- Product diagrams — part callouts with spec text and SKU links. See interactive product diagrams.
- Floor plans — room-by-room detail, availability, and lead capture on a plan image: interactive floor plans.
- Shoppable photos — price and buy links on lifestyle shots: shoppable image maker.
- Venue and campus maps — booths, rooms, and amenities on an illustrated map: interactive map maker.
- Replacing legacy image maps — the same clickable regions without coordinates: image map generator.
Writing hotspot copy that actually gets read
The most common mistake is treating a hotspot like a tooltip. A tooltip repeats the label; a good hotspot answers the question the visitor had when they clicked.
- Lead with the noun a person would use, not an internal code. "Condensate drain", not "Assy 4-B".
- Keep descriptions to two or three sentences. If it needs more, link out with the CTA rather than filling the card.
- Use categories when you pass roughly eight hotspots — visitors get filter chips instead of a wall of dots.
- Number the markers when the image explains a sequence, and let people walk it with the prev/next arrows.
Continue exploring
Frequently asked questions
What is an interactive image?
A picture with clickable hotspots on top. Each hotspot opens a card with a title, description, image, video, or link.
Is it really free?
Yes. The free plan publishes one interactive image with a limited hotspot allowance. Pro is $5/mo for up to 500 images and no badge.
Do I need to code?
No. Everything is drag and drop, and you copy one iframe into your website.
Does it slow my page down?
The iframe is lazy-loaded by default, so it only fetches when it scrolls into view. The image itself is served compressed at the size the embed needs.
Can two pages embed the same image?
Yes, and they stay in sync. One published image can be embedded on as many pages or sites as you like.
Turn any image into a guided experience.
Free forever plan. Paste one iframe into your site and ship.
Create your interactive image