

How to
How to make an interactive image.
A five-minute guide to turning any picture into a clickable, hotspot-driven experience — then embedding it on any website.
Free forever plan · No credit card · Works in Wix, Webflow, WordPress, Shopify, Squarespace
The five steps
- Sign up for free. Create a free Interactive Image account. No credit card required.
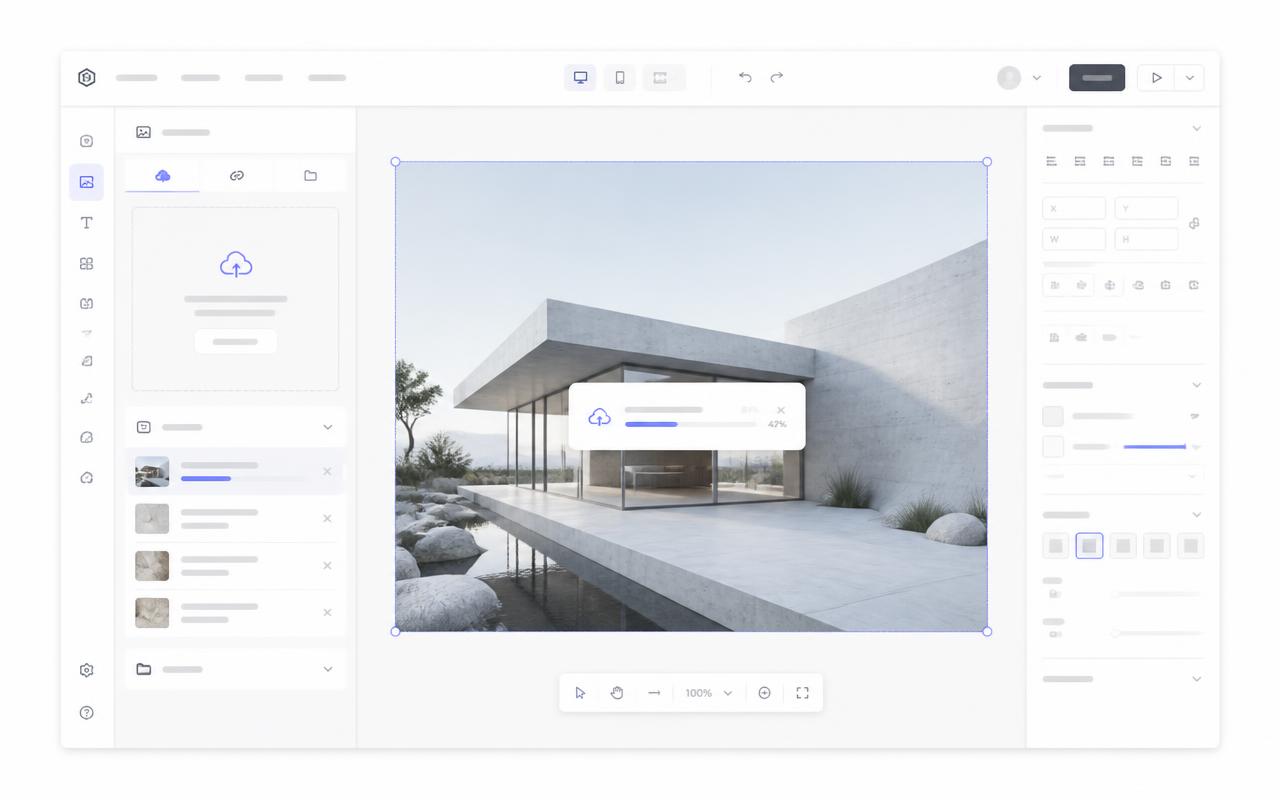
- Upload your image. Drag your product photo, diagram, render, or floor plan into the editor at its original resolution and aspect ratio.
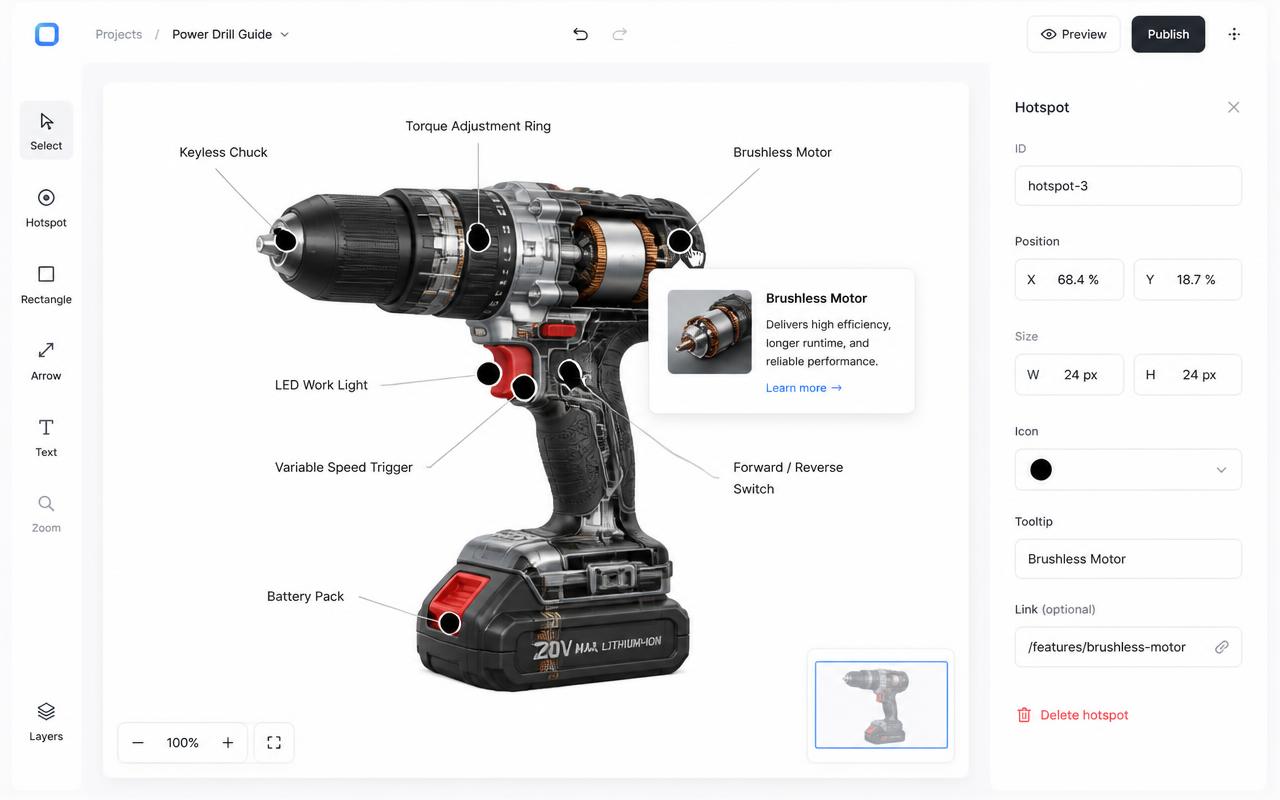
- Click to place hotspots. Click anywhere on the image to drop a hotspot. Drag it to fine-tune the position — positions save as percentages, not pixels.
- Write the popup content. Give each hotspot a title, description, and — optionally — an image, video, or CTA button.
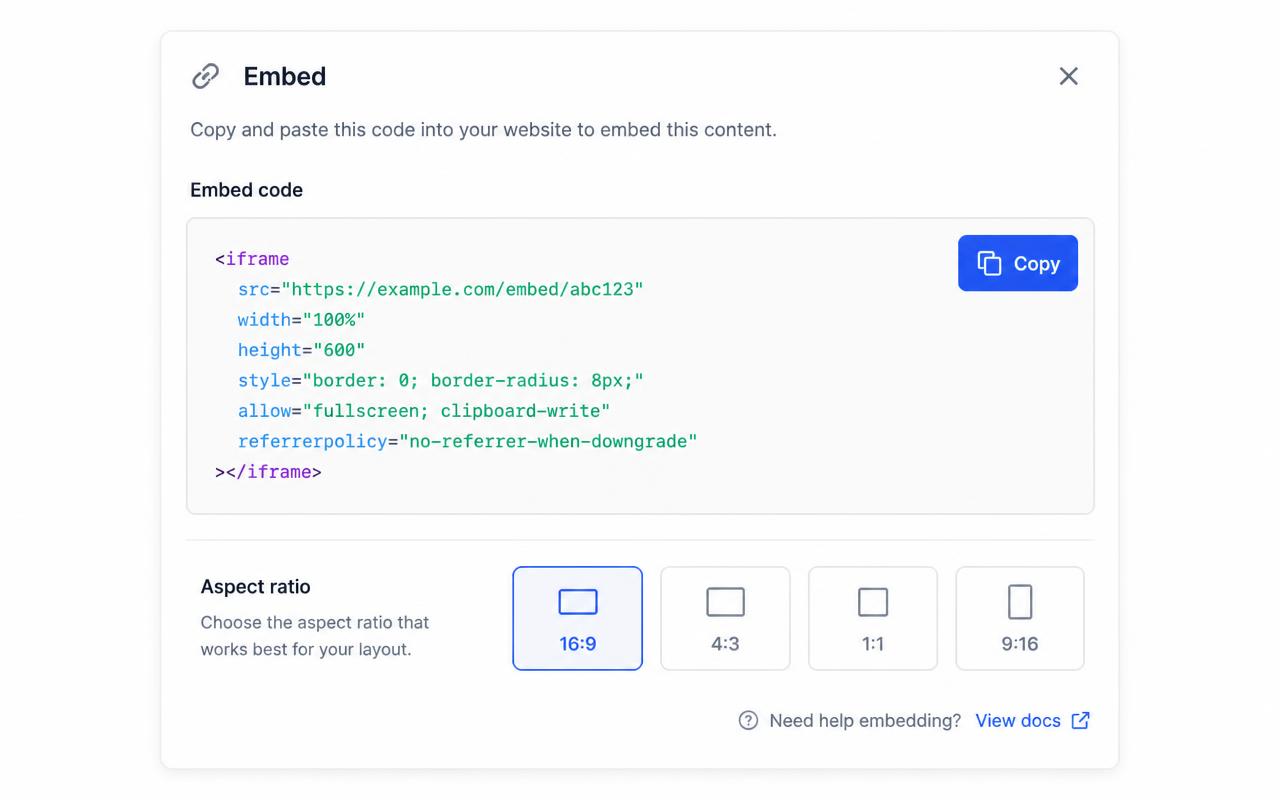
- Copy the iframe. Open the Embed panel, copy the single iframe snippet, and paste it into any website that accepts HTML.
Preparing the image: resolution, aspect ratio, and file size
- Resolution: use what you already have — higher resolution just gives dense diagrams more room between markers.
- Aspect ratio: keep the crop you intend visitors to see; the embed derives its height from the image's own ratio, so any ratio works.
- File size: compress large photos before uploading for a faster first load — there's no strict limit, but lighter loads faster.
- Never crop after placing hotspots — positions are percentages of the current frame, and a new crop moves what every percentage refers to.
Placing hotspots so they stay aligned everywhere
Each hotspot is stored as an x/y percentage of the image, not a pixel coordinate. That's the difference between an interactive image and a raw HTML <map> — a percentage-based hotspot at 30%, 60% is always 30% across and 60% down the image, on a 4K monitor or a small phone, with nothing to recalculate. See the responsive image map generator for the underlying math, and how to add hotspots to an image for marker styles.
Hover, click, or tap?
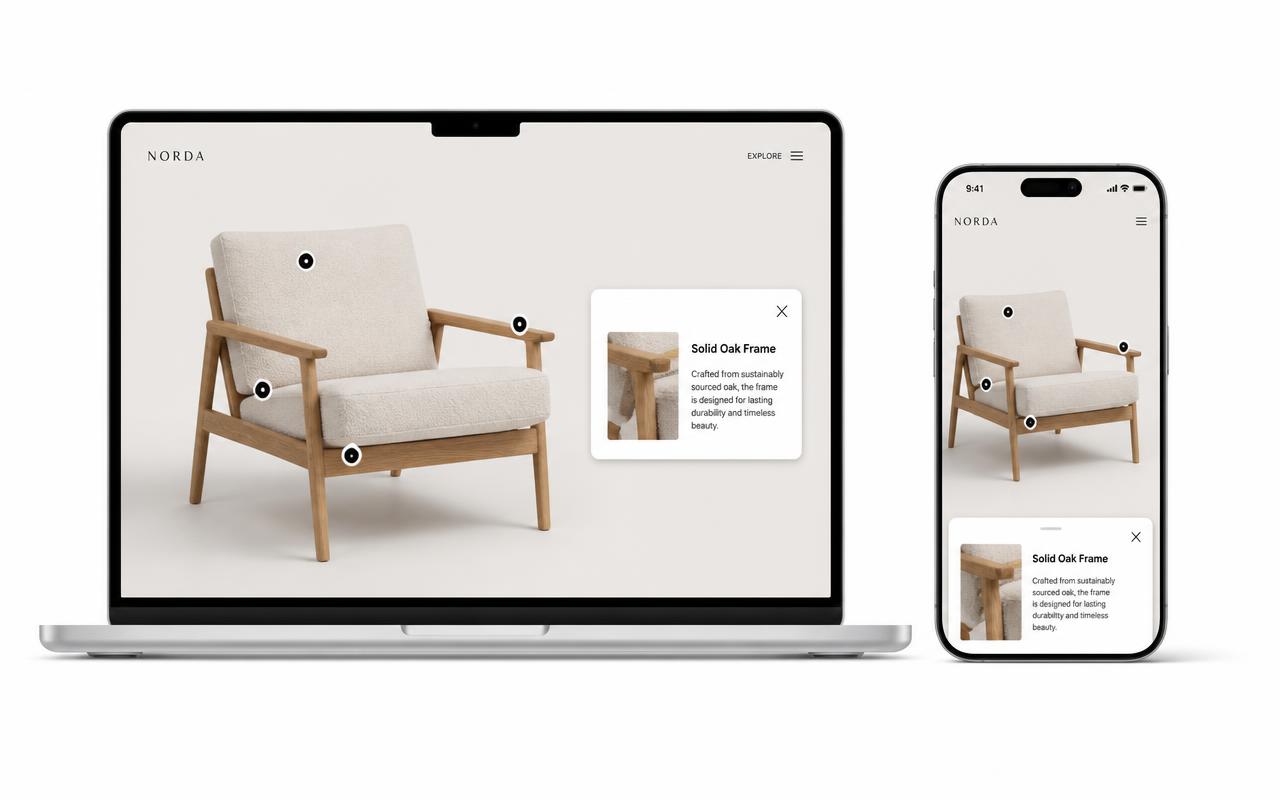
On desktop, hover is a fast way to preview content without a click. On touch devices there's no hover state, so hotspots become tap targets and the card opens as a full-width panel instead of a small tooltip. Interactive Image switches automatically based on the visitor's device, so you configure the hotspot content once.
What image should you use?
Product photography, 3D renders, architectural drawings, floor plans, infographics, screenshots, and diagrams all work. Higher-resolution images give you more room to place fine-grained hotspots without them crowding each other.
Embedding the finished image
Anywhere that accepts an iframe: Ghost, Notion embeds, Framer, custom pages, internal tools, email landing pages, and every major website builder. Platform-specific steps:
The same source updates every place the iframe is pasted.
Accessibility and SEO basics
Hotspots are focusable with Tab and open on Enter or Space, not hover alone — see the accessibility guide. Because the embed is an iframe, its content sits outside your page's own HTML, so keep the surrounding page's headings and copy substantive; details are in the image map SEO guide.
Common mistakes and how to fix them
| Mistake | Fix |
|---|---|
| Cropping the image after placing hotspots | Re-place hotspots after any crop change, or crop before you start |
| Using fixed pixel coordinates from an old image map | Re-click the points — Interactive Image saves them as percentages automatically |
| Popups that only work on hover | Let the tool switch to tap on touch devices instead of hard-coding hover |
| Overlapping hotspots on a dense diagram | Use a higher-resolution source image, or split into two images |
| Forgetting the CTA link on a shoppable hotspot | Add a CTA button pointing at the product or detail page |
Frequently asked questions
How do I make an interactive image for free?
The Interactive Image free plan lets you publish one interactive image with a limited hotspot allowance. A small badge sits on the embed. Pro removes the badge and unlocks 500 images.
How do I make an interactive image in HTML?
Skip the raw <map>/<area> HTML — it is not responsive. Use Interactive Image to generate a single iframe that behaves correctly on every screen size.
Can I edit the interactive image after it's published?
Yes. Editing the image, hotspots, or popup content updates every place the iframe is embedded — there's nothing to republish or re-paste.
Turn any image into a guided experience.
Free forever plan. Paste one iframe into your site and ship.
Create your interactive image